Learn how to Install our DIY Handrails For Steps
Here Are The Steps To Have A Quality Handrail Installed In About An Hour
DOWNLOAD OUR INSTALLATION GUIDES BELOW FOR A WIDE RANGE OF APPLICATIONS
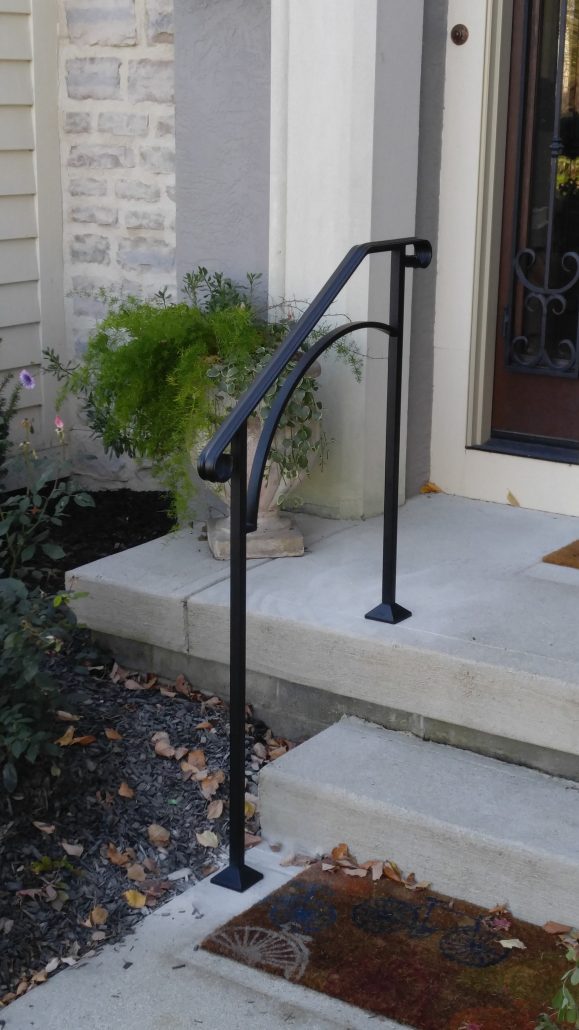
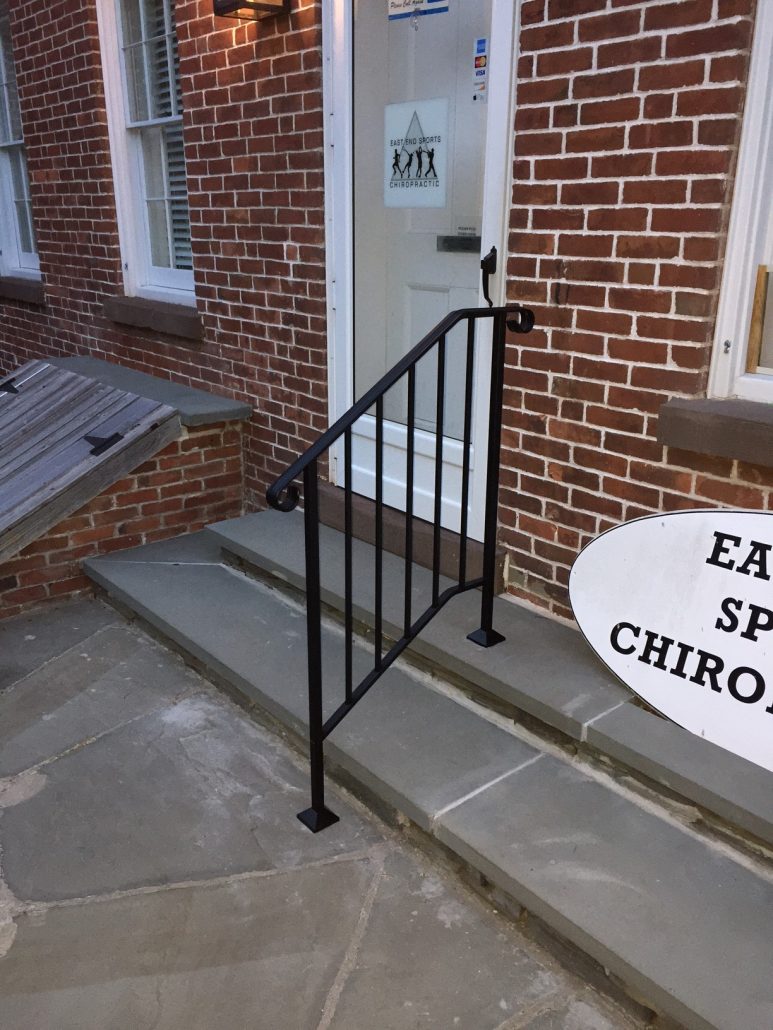
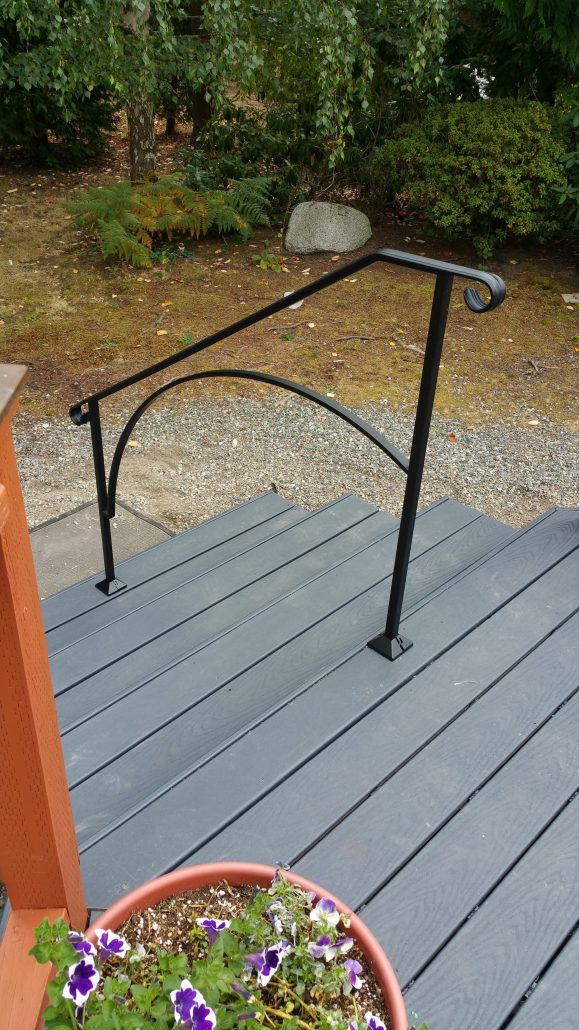
Handrails Just for Steps
Stand alone handrails for stair mounted applications
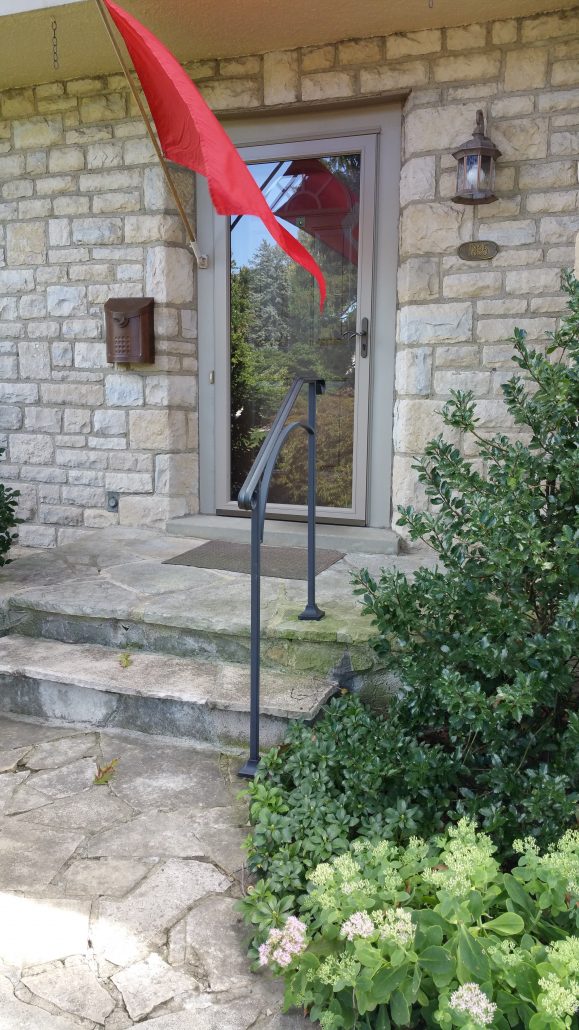
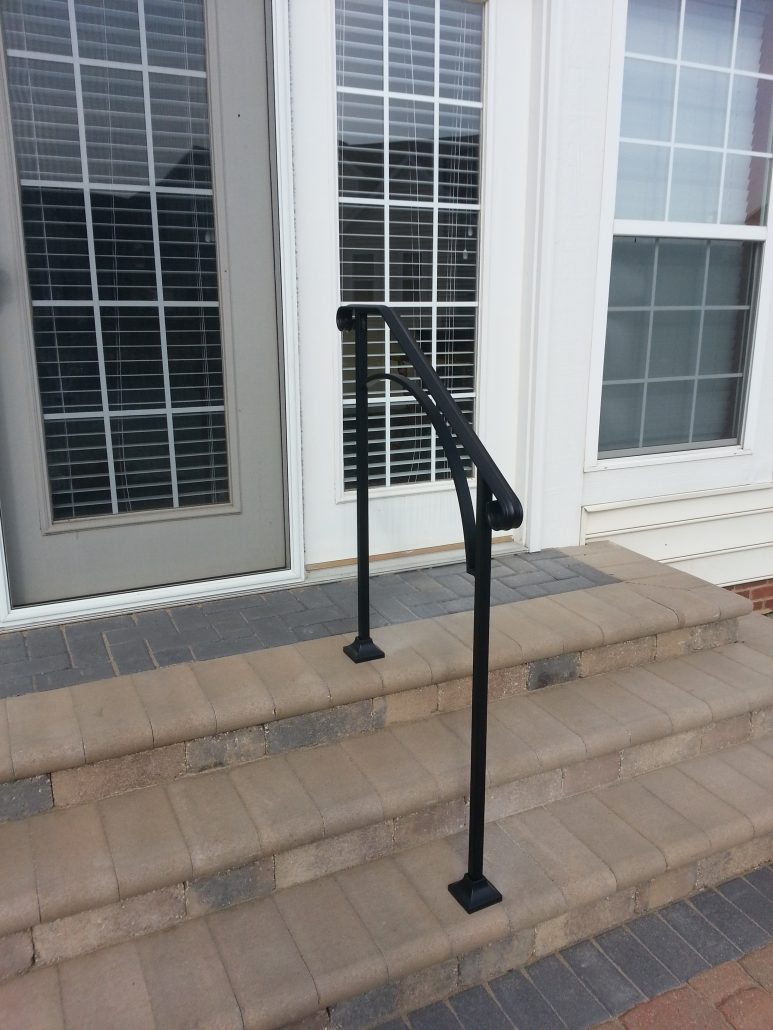
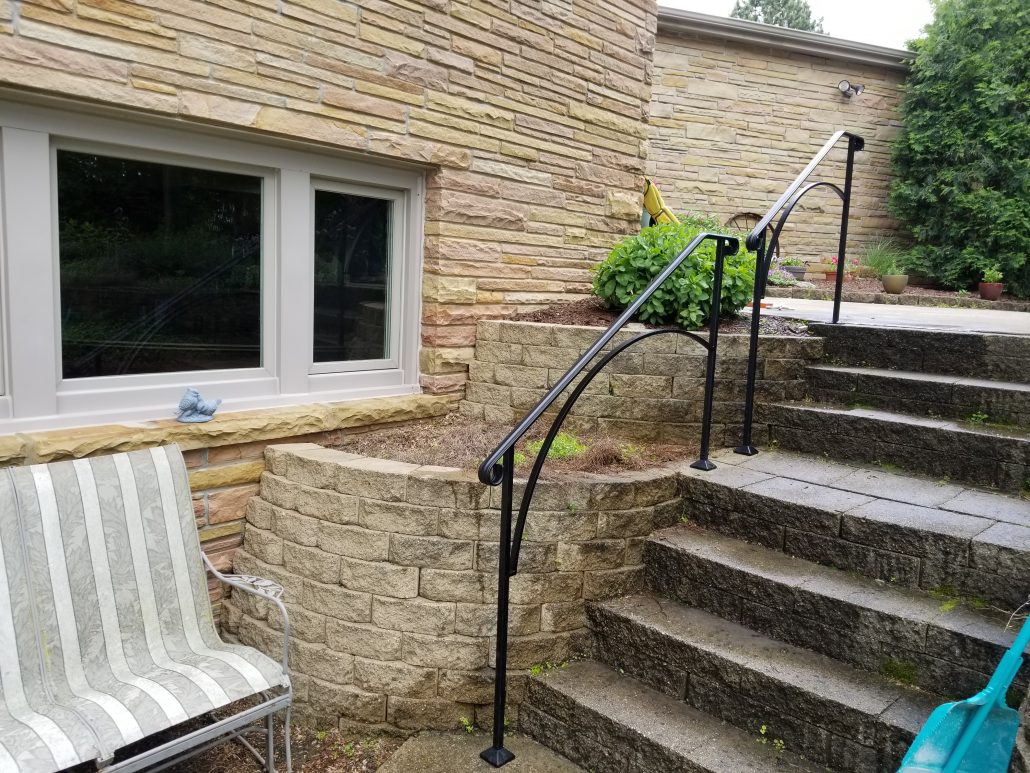
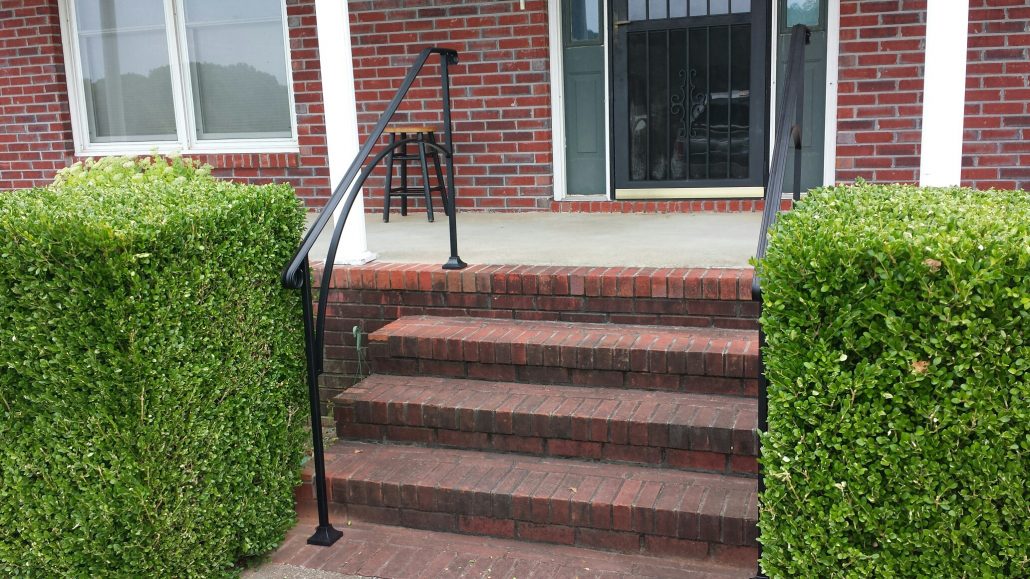
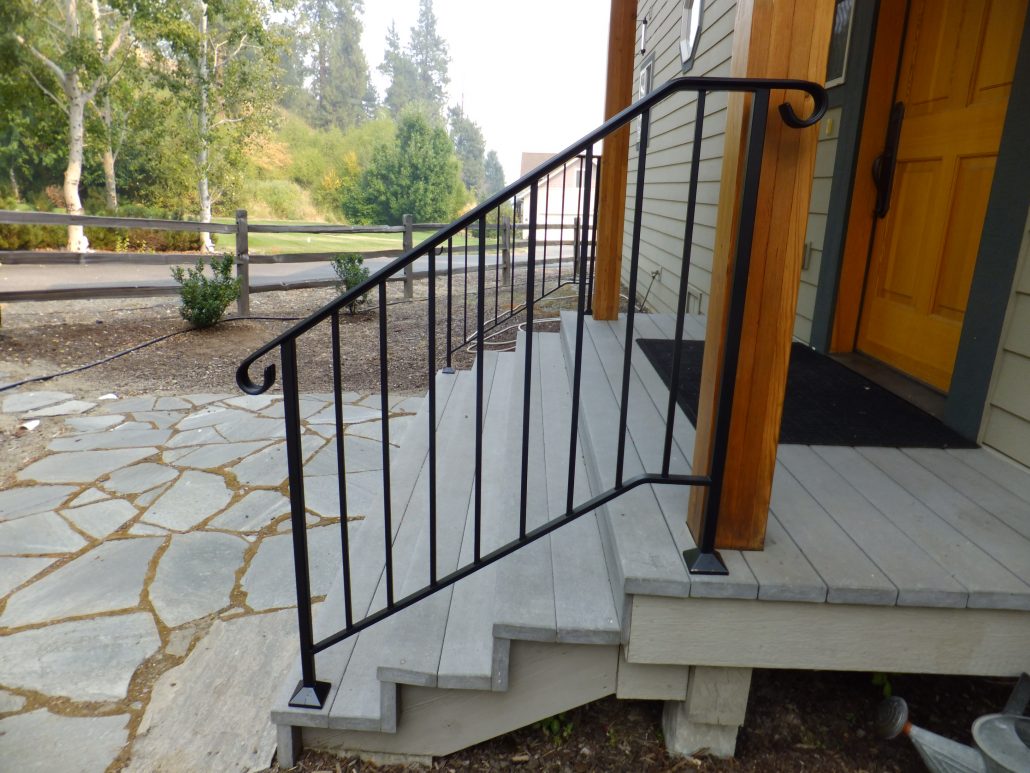
Handrails for Steps and Porches
Combination of stair mounted and level mounted handrails
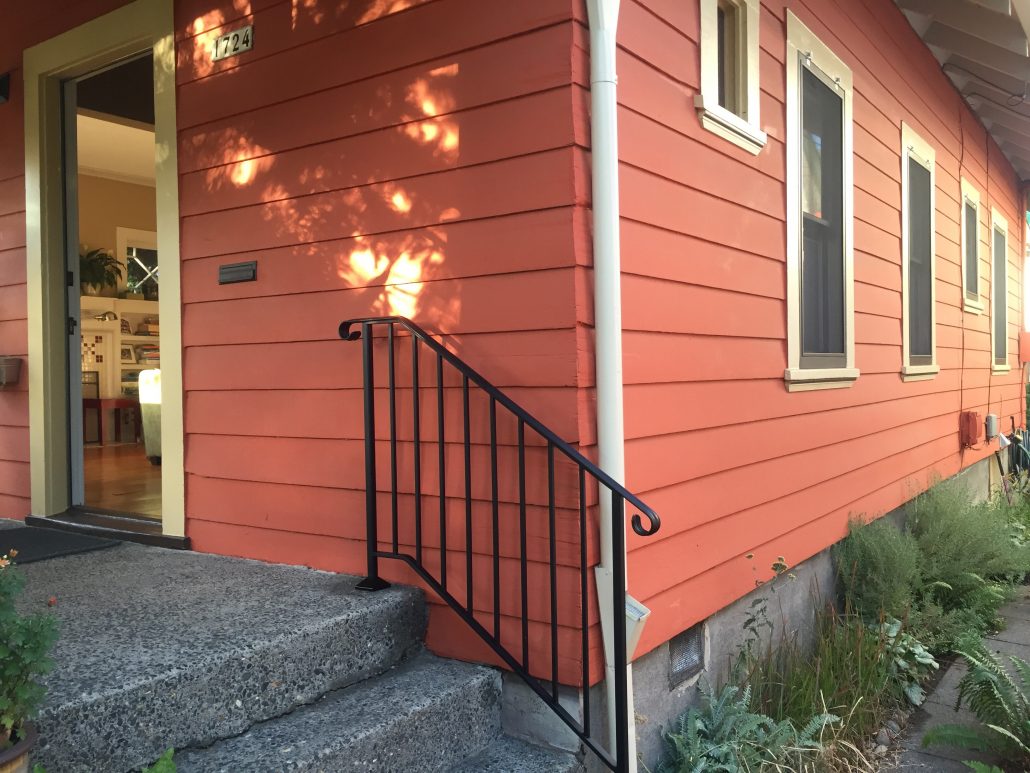
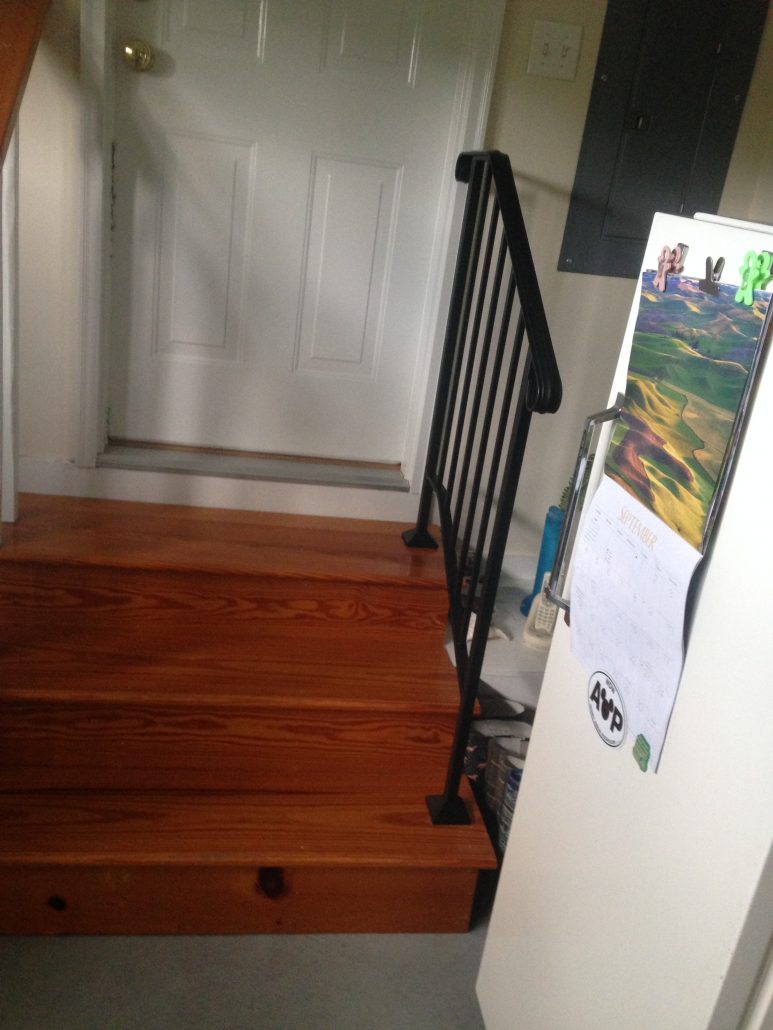
Wall and Floor Mounted Handrail
Typically used in garage stair entries
Wall Mounted Handrail
Ready to ship wall mounted handrails from 2 ft to 5 ft. Custom solutions available up to 180 inches


FOLLOW OUR EASY STEP-BY-STEP PROCESS TO INSTALL YOUR NEW HANDRAIL TODAY!

Always plumb, cut and fit your rail to the steps before inserting post mount brackets into the posts.
Set the rail without the post mounts on the steps in the location where you plan on mounting it.
The rail will most likely set out of plumb and one post will need trimmed to custom fit to your steps.

Place a level on the front surface of the post (A).
It is not necessary to plumb the post side to side yet.
While keeping one rail post on the step (⇓), raise the other rail post off the mounting surface (⇑) until the level reads plumb.
While holding the posts plumb, note which post is off the step…
Scenario 1: If the front post is off the step your cut will be made on the back post.
(Scenario 1 is used in this instruction sheet)
Scenario 2: If the back post is off the step your cut will be made on the front post.

Measure from the bottom of the post to the mounting surface (B).
This distance (B) is the amount that you will need to CUT off the other post (C).
Mark the gap distance (B) measurement on the opposing post.
This is your cut line.

Make a straight CUT with a hack saw or other metal saw.
Set the rail back onto the steps and check that the rail post are sitting plumb.
Always plumb, cut and fit your rail to the steps before inserting post mount brackets.

Once the rail is sitting plumb, remove it from the steps.
Locate the 2 post mount brackets (D) and the green snug strips (E).
Fold the green snug strip over the top of the post mounts.
The snug strips should be oriented to touch the left and right side of each post, as opposed to the front and back.

Slide the post mount and snug strip assembly (F) into the bottoms (⇒⇒) of the rail posts.
NOTE: It will be necessary to tap (⇒⇒) the bottom of the post mount assembilies into the bottom of the posts.
Try not scratch or hammer the handrail cap.
We have found it is easiest to turn the handrail upside down to pound in the post mount brackets.

Set the rail into its final mounting position.
Drill a hole (G) through the post mount into your steps and use an anchor suitable for your step materials to fasten the rail to the steps.
Drill one hole and install one anchor at a time.

To help plumb the rail posts side to side (⇔), use the stainless steel washers (H) provided to shim underneath the mounting plates (F) before tightening the anchors to your steps.
Keys to Installation Success
The success of your Iron X Handrail installation is dependent on the quality of your stair material as well as the type and quality of the fastener you use. Not only does Fortin Ironworks manufacture Iron X Handrails but we also install them. We’ve installed the handrails on a variety of stair materials. Please ensure that your stairs are suitable to fasten handrails to them. Visually inspect your steps for cracks or splits.
If you are unsure please contact a reputable contractor.