Learn how to Install our DIY Wall & Floor Mounted Handrails
Here Are The Steps To Have A Quality Handrail Installed In About An Hour
DOWNLOAD OUR INSTALLATION GUIDES BELOW FOR A WIDE RANGE OF APPLICATIONS
Handrails Just for Steps
Stand alone handrails for stair mounted applications
Handrails for Steps and Porches
Combination of stair mounted and level mounted handrails
Wall and Floor Mounted Handrail
Typically used in garage stair entries
Wall Mounted Handrail
Ready to ship wall mounted handrails from 2 ft to 5 ft. Custom solutions available up to 180 inches
FOLLOW OUR EASY STEP-BY-STEP PROCESS TO INSTALL YOUR NEW HANDRAIL TODAY!
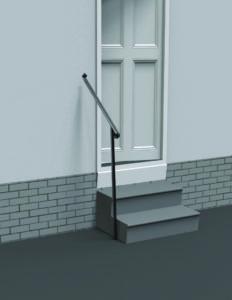
Always plumb, cut, and fit your rail to the steps before inserting post mount brackets into the posts.
Set the rail without the post mounts next to the steps in the location where you plan on mounting it.
Typically handrails will be installed on the same side of the steps as the doorknob.
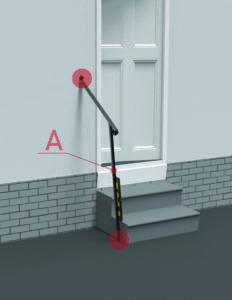
Place a level on the front surface of the post (A). It is not necessary to plumb the post side to side yet.
The handrail should be touching the ground as well as the wall while the level reads plumb.
Move the level to one side of the handrail and ensure it is sitting plumb.
It is helpful to check and recheck for plumb both directions multiple times.
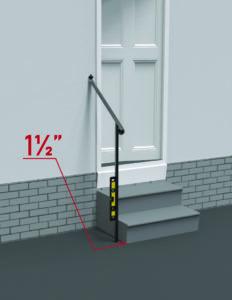
The handrail post should be a minimum of 1½” from the side of the steps to ensure clearance for the post mount.
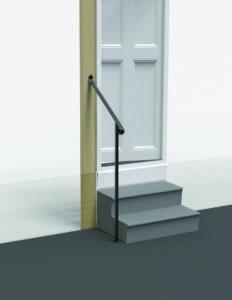
Use a stud finder to ensure there is adequate support within the wall where the handrail is touching the wall.
Once the handrails is plumb both directions and internal wall support is verified choose the fasteners you will use to anchor the handrail to the wall and to the floor.
Always plumb, cut and fit your rail to the steps before inserting post mount brackets.
Once the rail is sitting plumb, remove it from the steps.
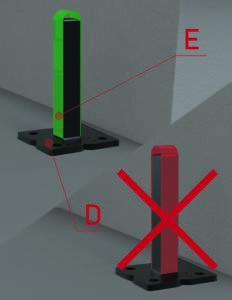
Locate the post mount bracket (D) and the green snug strips (E). Fold the green snug strip over the top of the post mounts. The snug strips should be oriented to touch the left and right side of each post, as opposed to front and back.
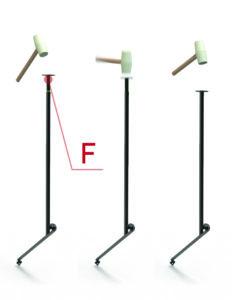
Slide the post mount and snug strip assembly (F) into the bottoms (→ →) of the rail posts.
NOTE: It will be necessary to tap (→ →) the bottom of the post mount assemblies into the bottom of the posts. Do not scratch or hammer the handrail cap.
Set the rail into its final mounting position.
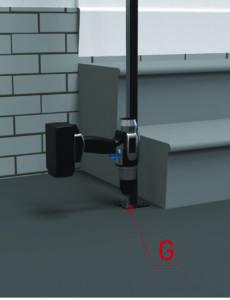
Drill a hole (G) through the post mount into your steps and use an anchor suitable for your step materials to fasten the rail to the steps.
Drill one hole and install one anchor at a time.
Anchor the top clip to the wall with a suitable anchor.
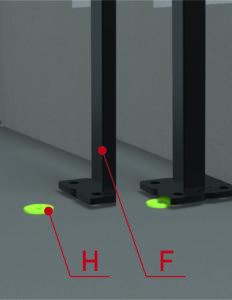
To help plumb the rail posts side to side (↔), use the stainless steel washers (H) provided to shim underneath the mounting plates (F) before fully tightening the anchors to your steps or floor.
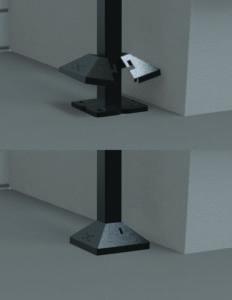
Place each side of the separated escutcheon on either side of the front post, twist in opposing directions, bring them together, and twist back to lock in place.
For any confusion or clarifications on how to install your escutcheon, please refer to this video guide.
Your installation is now complete!

