Installation Instructions:
Newel Rail for Steps with Risers Smaller than 7″
Video Instructions
Written Installation Instructions
Here Are The Steps To Have A Quality Handrail Installed In About An Hour
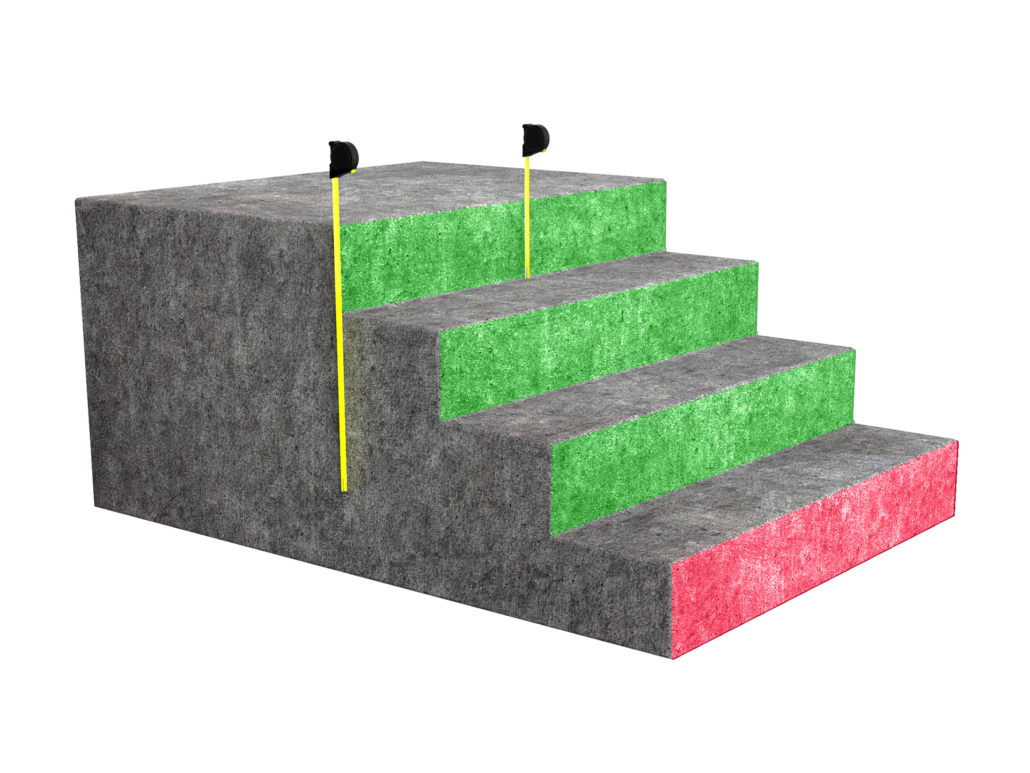
Measure the height of only the risers your rail will span. For instance, in this illustration, only 3 risers are measured for installation of a Newel #3 rail, while the fourth riser is disregarded.
Using the chart below, if your measurements are LESS THAN the number listed for your respective rail, continue with this set of instructions. If your measurements are MORE THAN the number listed, use the MORE THAN 7 instructions.
NEWEL # 1 ……….. 7″ Risers ……….. 7″ Total Rise
NEWEL # 2 ……….. 7″ Risers ……….. 14″ Total Rise
NEWEL # 3 ……….. 7″ Risers ……….. 21″ Total Rise
NEWEL # 4 ……….. 7″ Risers ……….. 28″ Total Rise
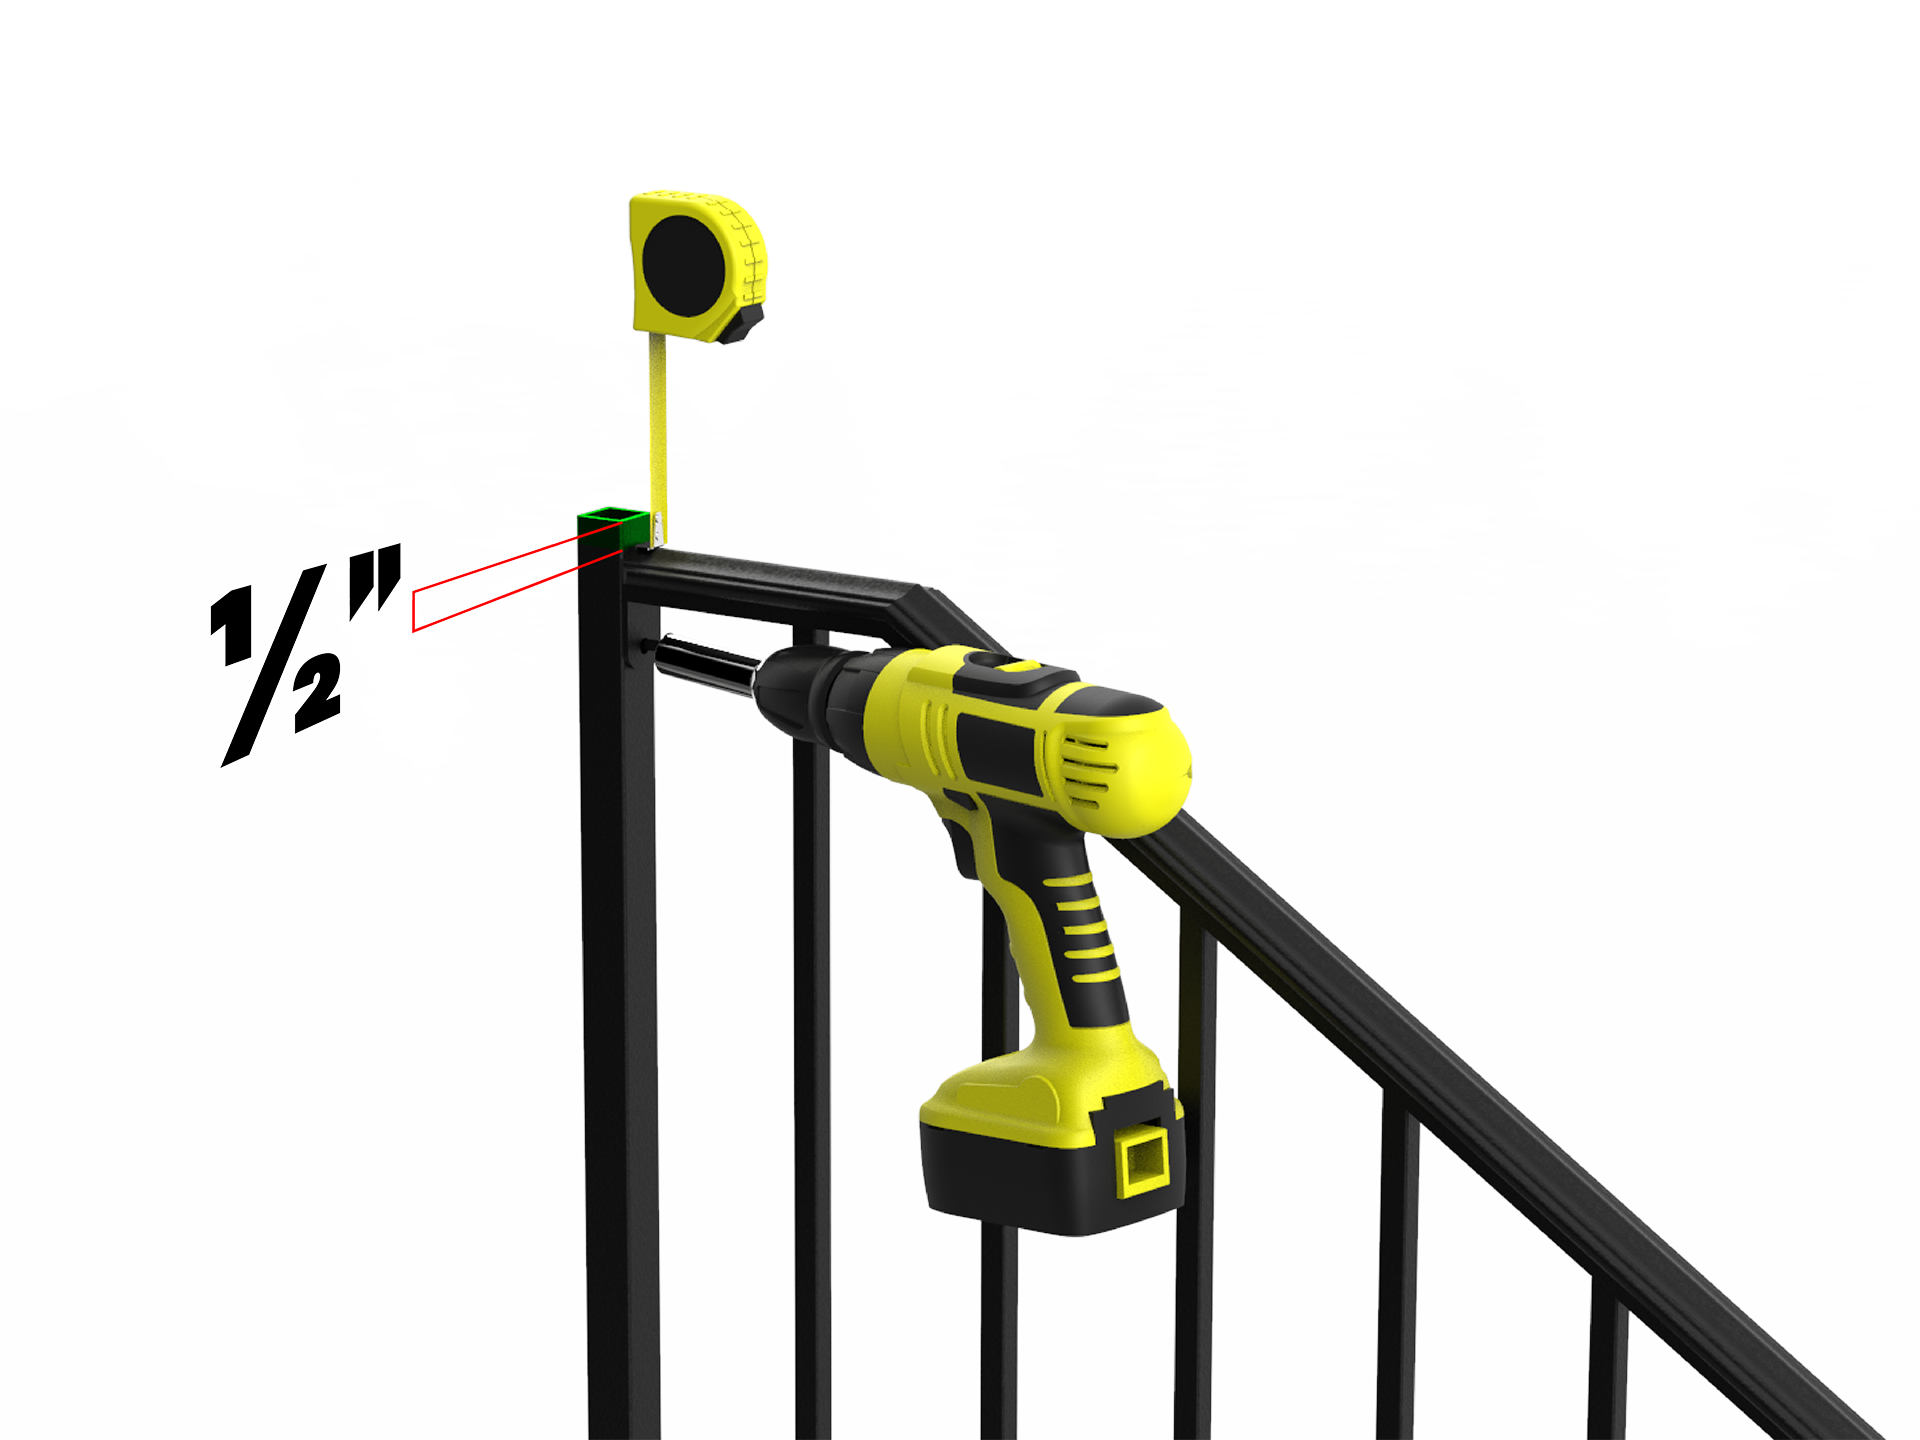
Place a mark on the newel post ½” down from the top of the post.
Center the handrail mounting clips to the newel post and align
the top of the handrail cap to the ½” mark.
Using the supplied ⅜” driver bit and your screw gun, with firm pressure, screw the self drilling screws through the handrail mounting clip into the newel post.
The screws are self drilling and will cut into the newel post.
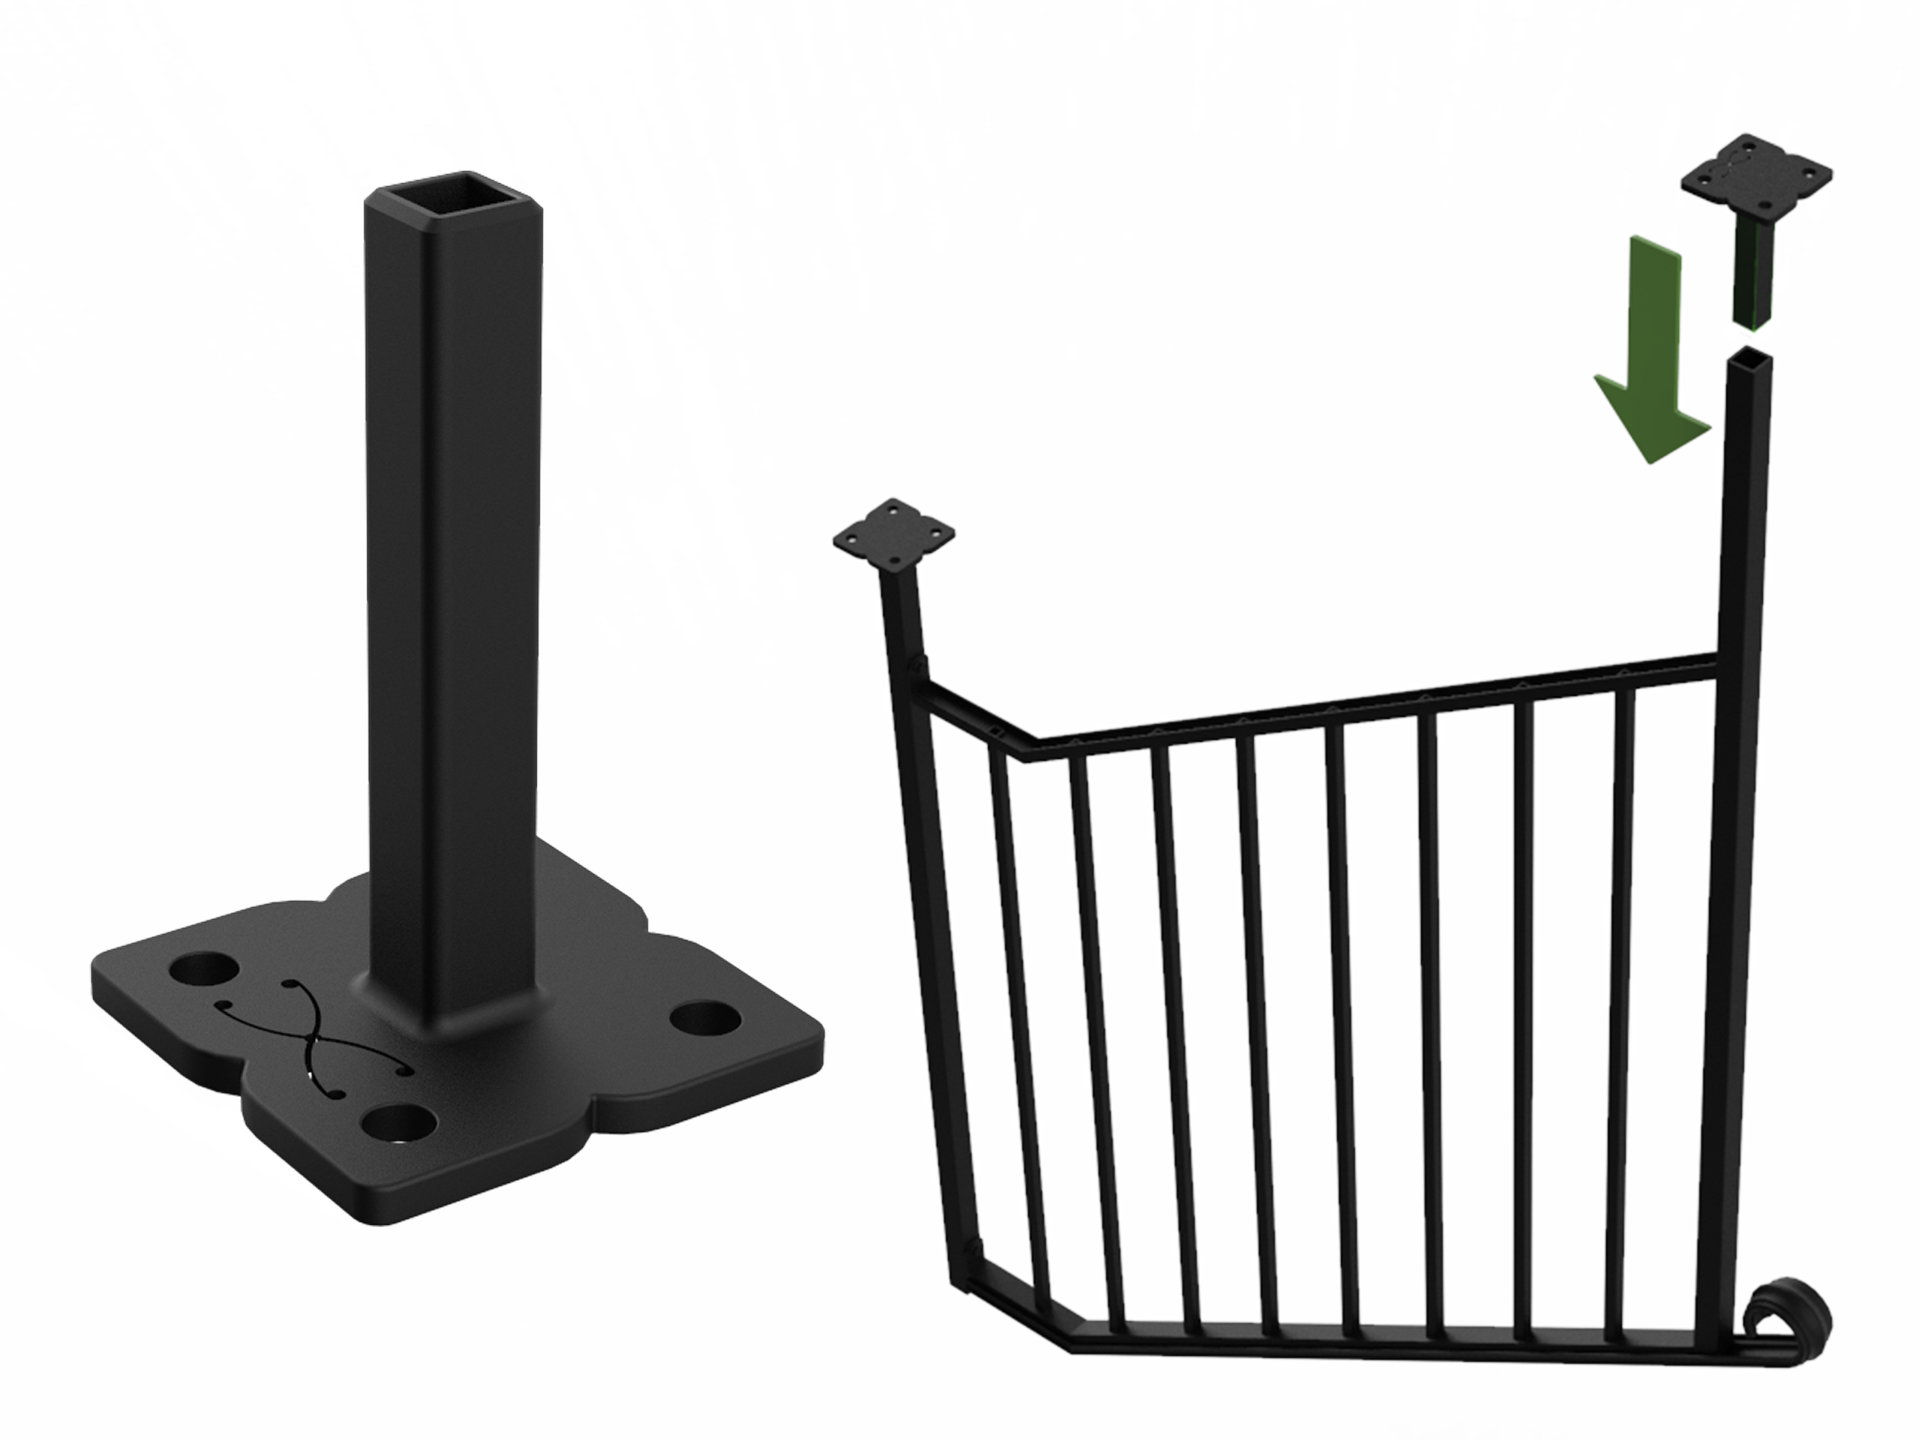
Take the Post Mount Bracket that is included in the kit, and insert into the bottom post WITHOUT SNUG STRIPS.
This will be temporary to get correct measurements.
The snug strips will be used in a later step.
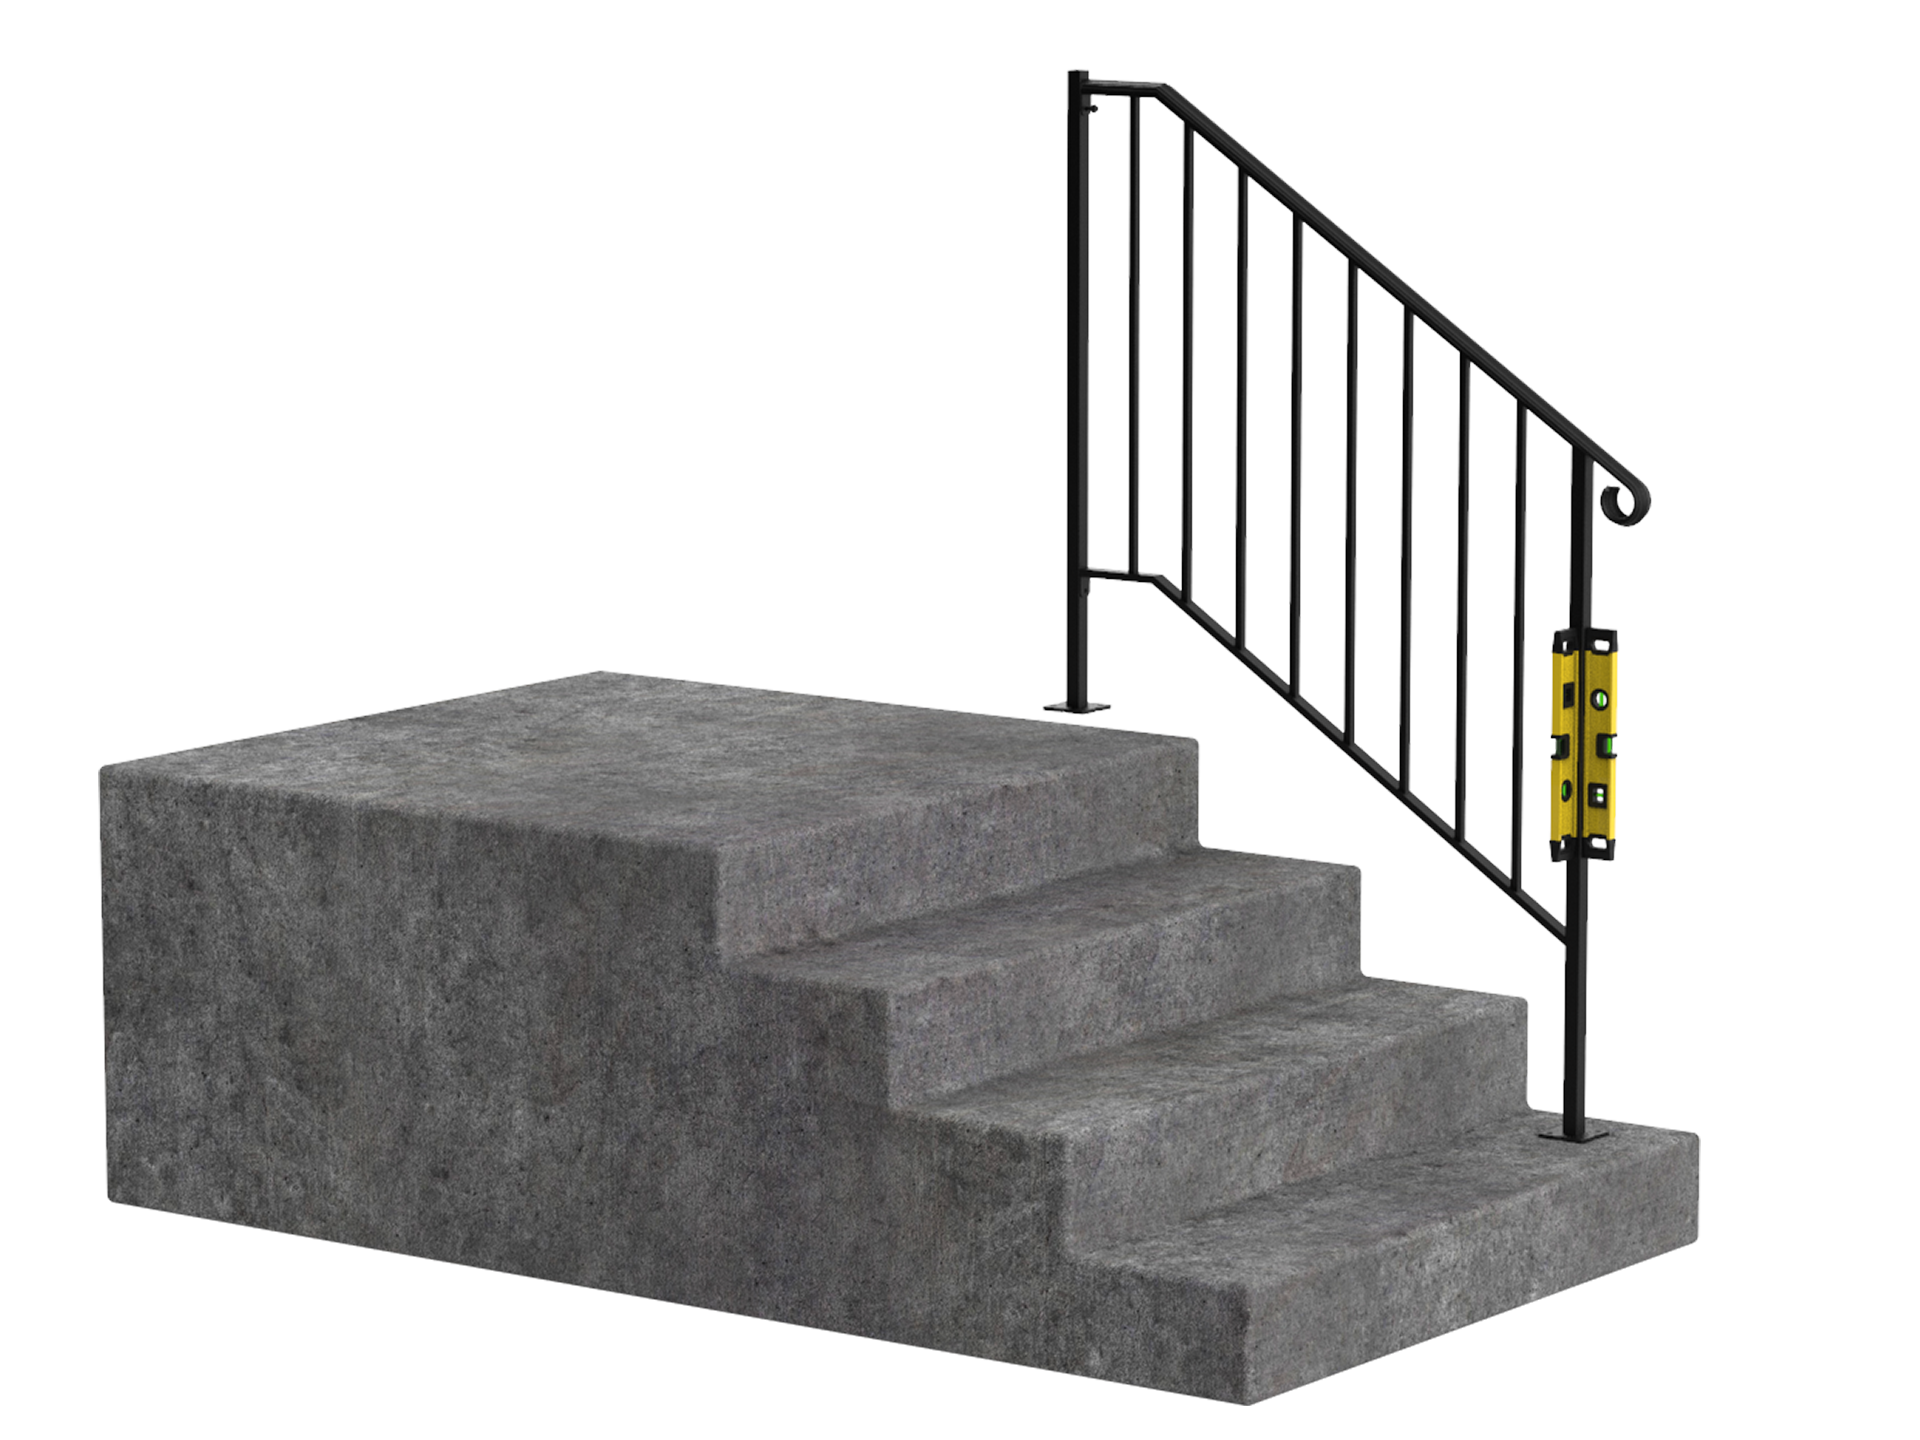
Take the rail assembly, and place it where it is to be mounted on the steps.
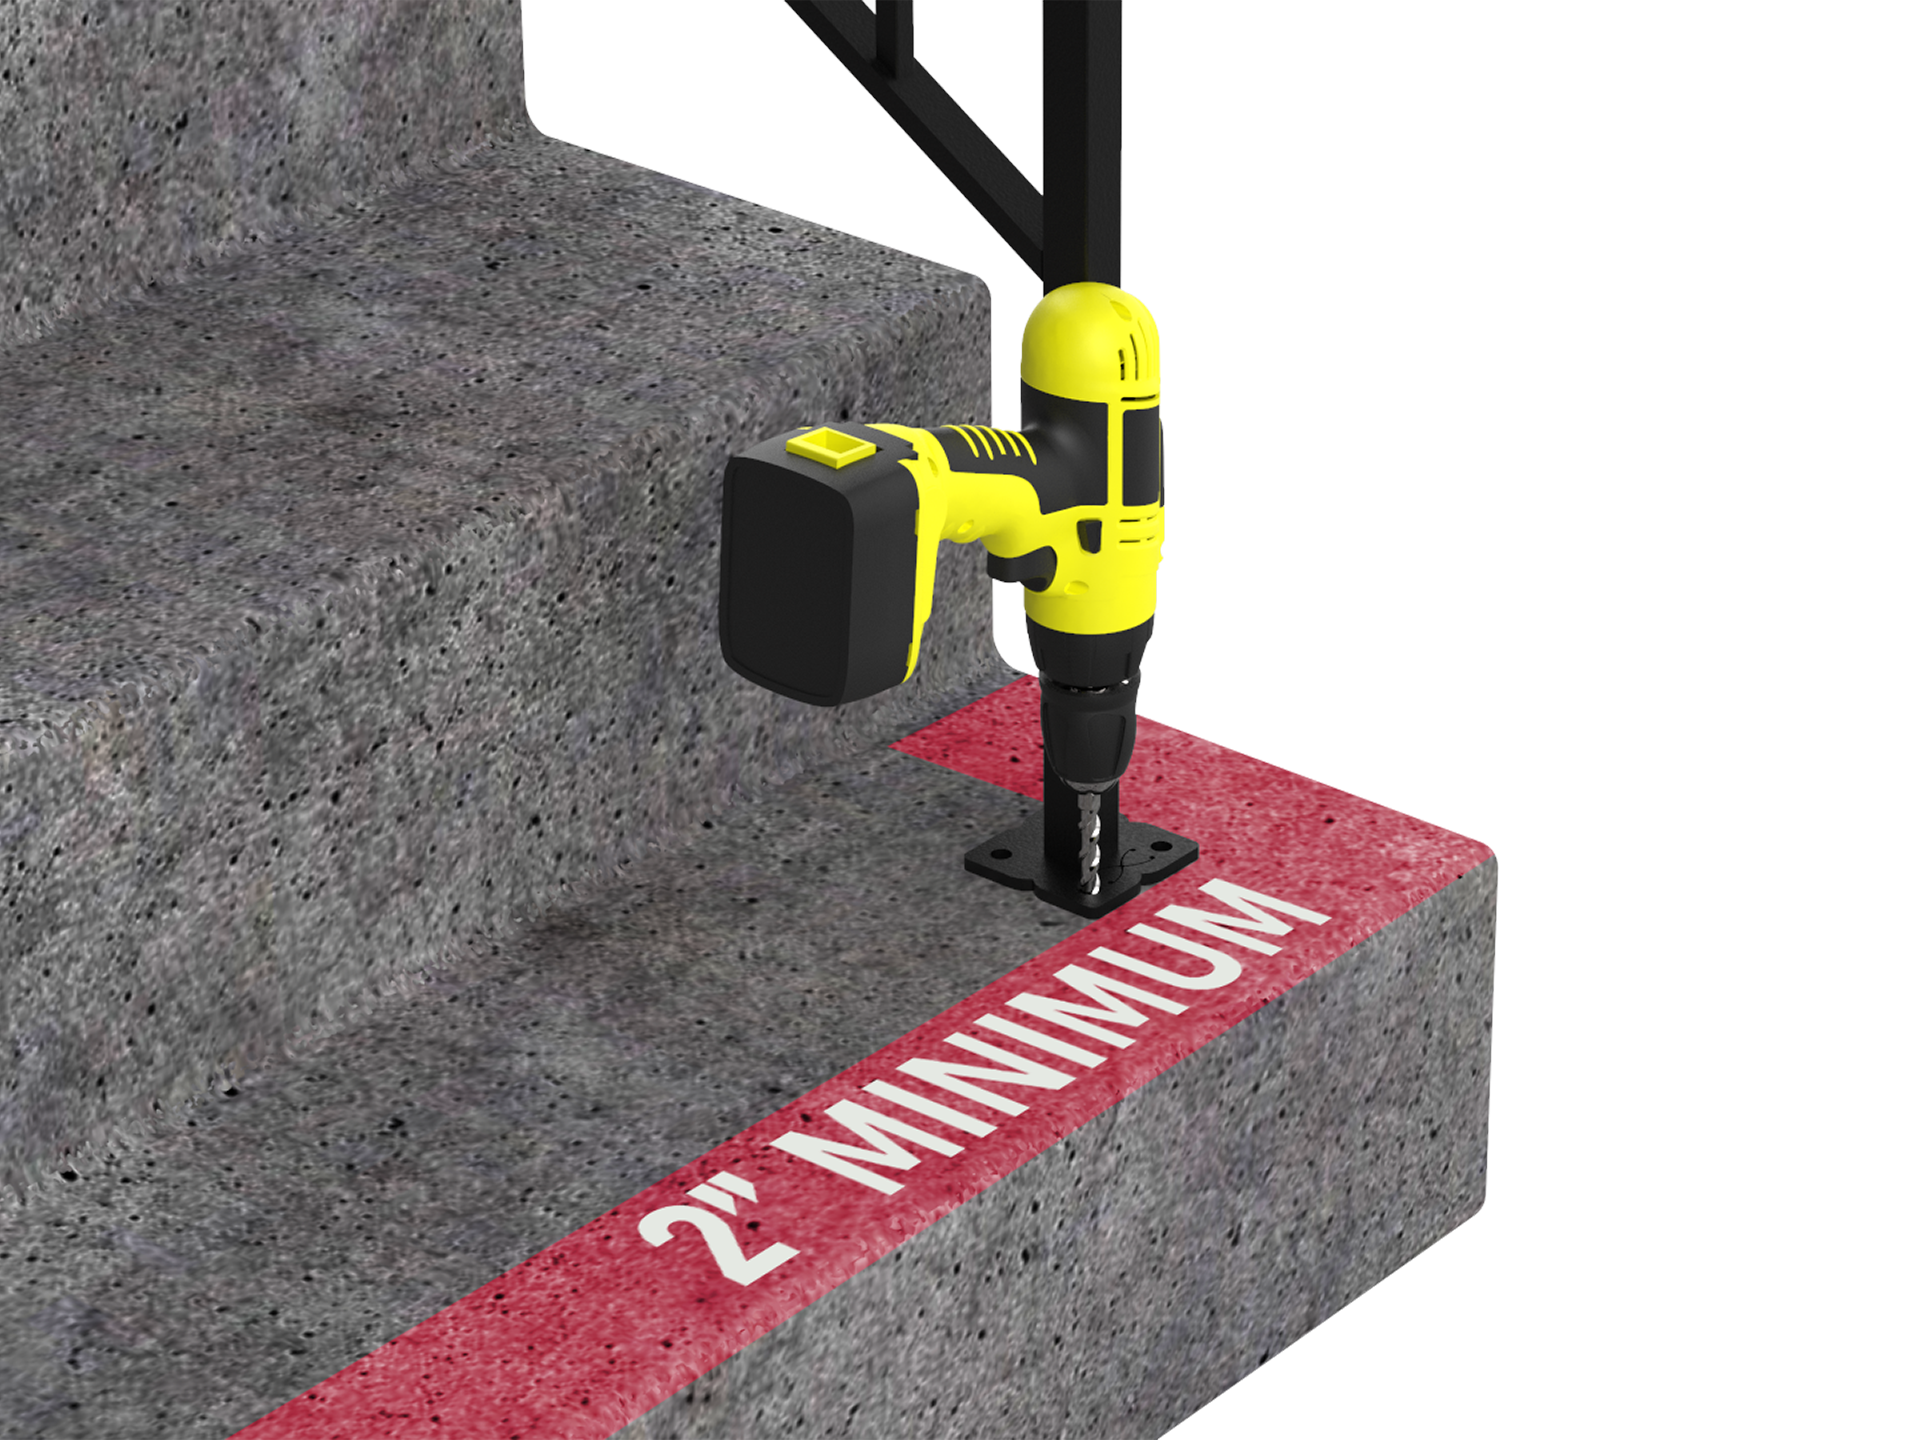
Each post should be a minimum of 2” from each side of the step.
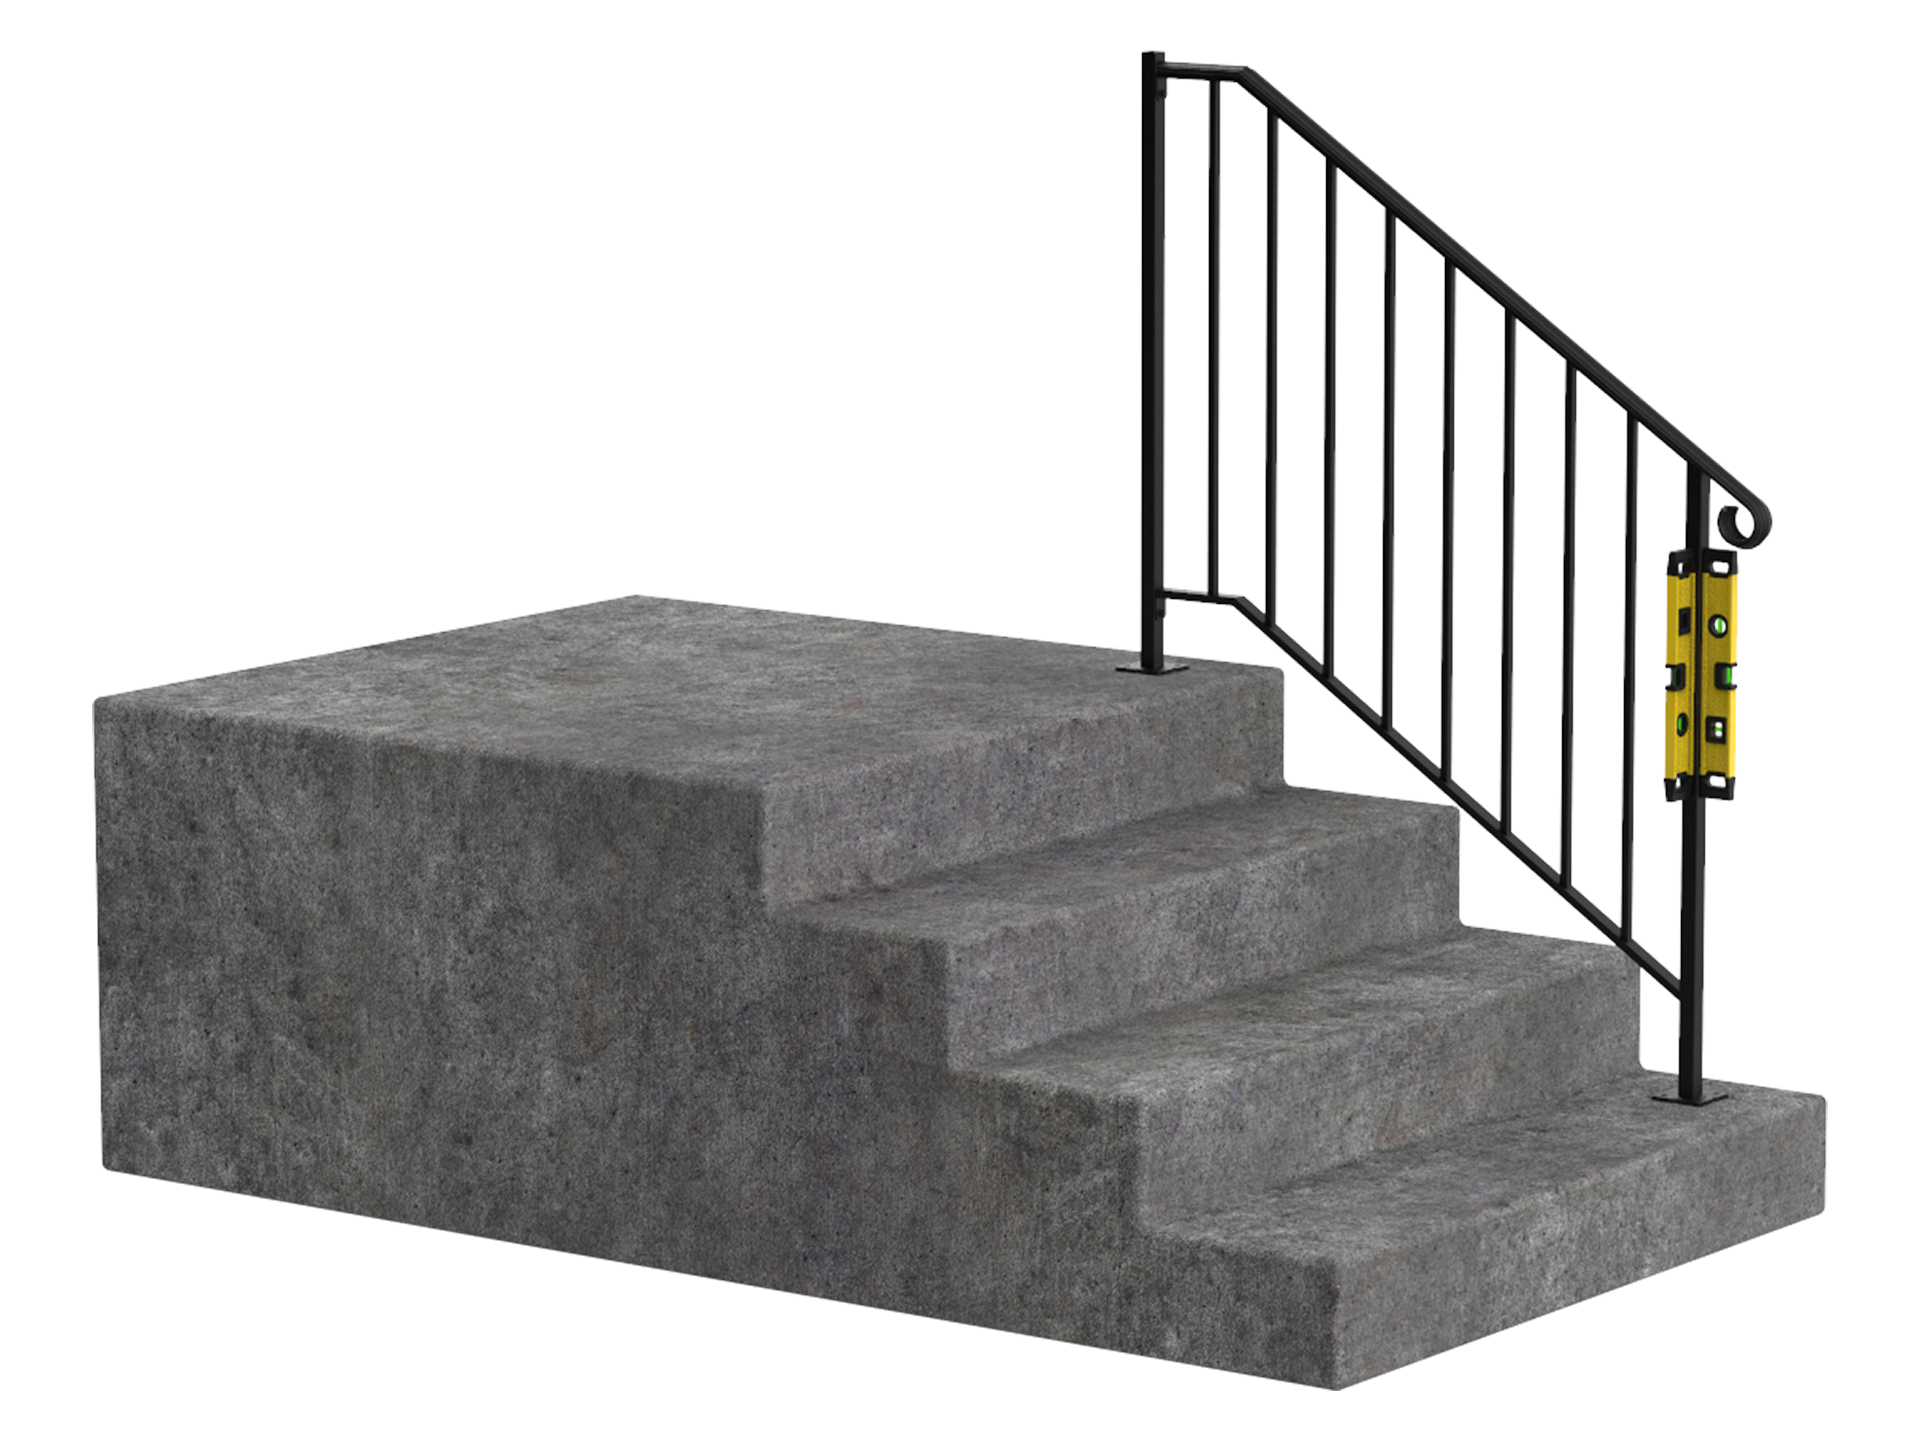
Use a level to ensure plumb in all directions. This will cause a gap underneath the top post, which will be corrected.
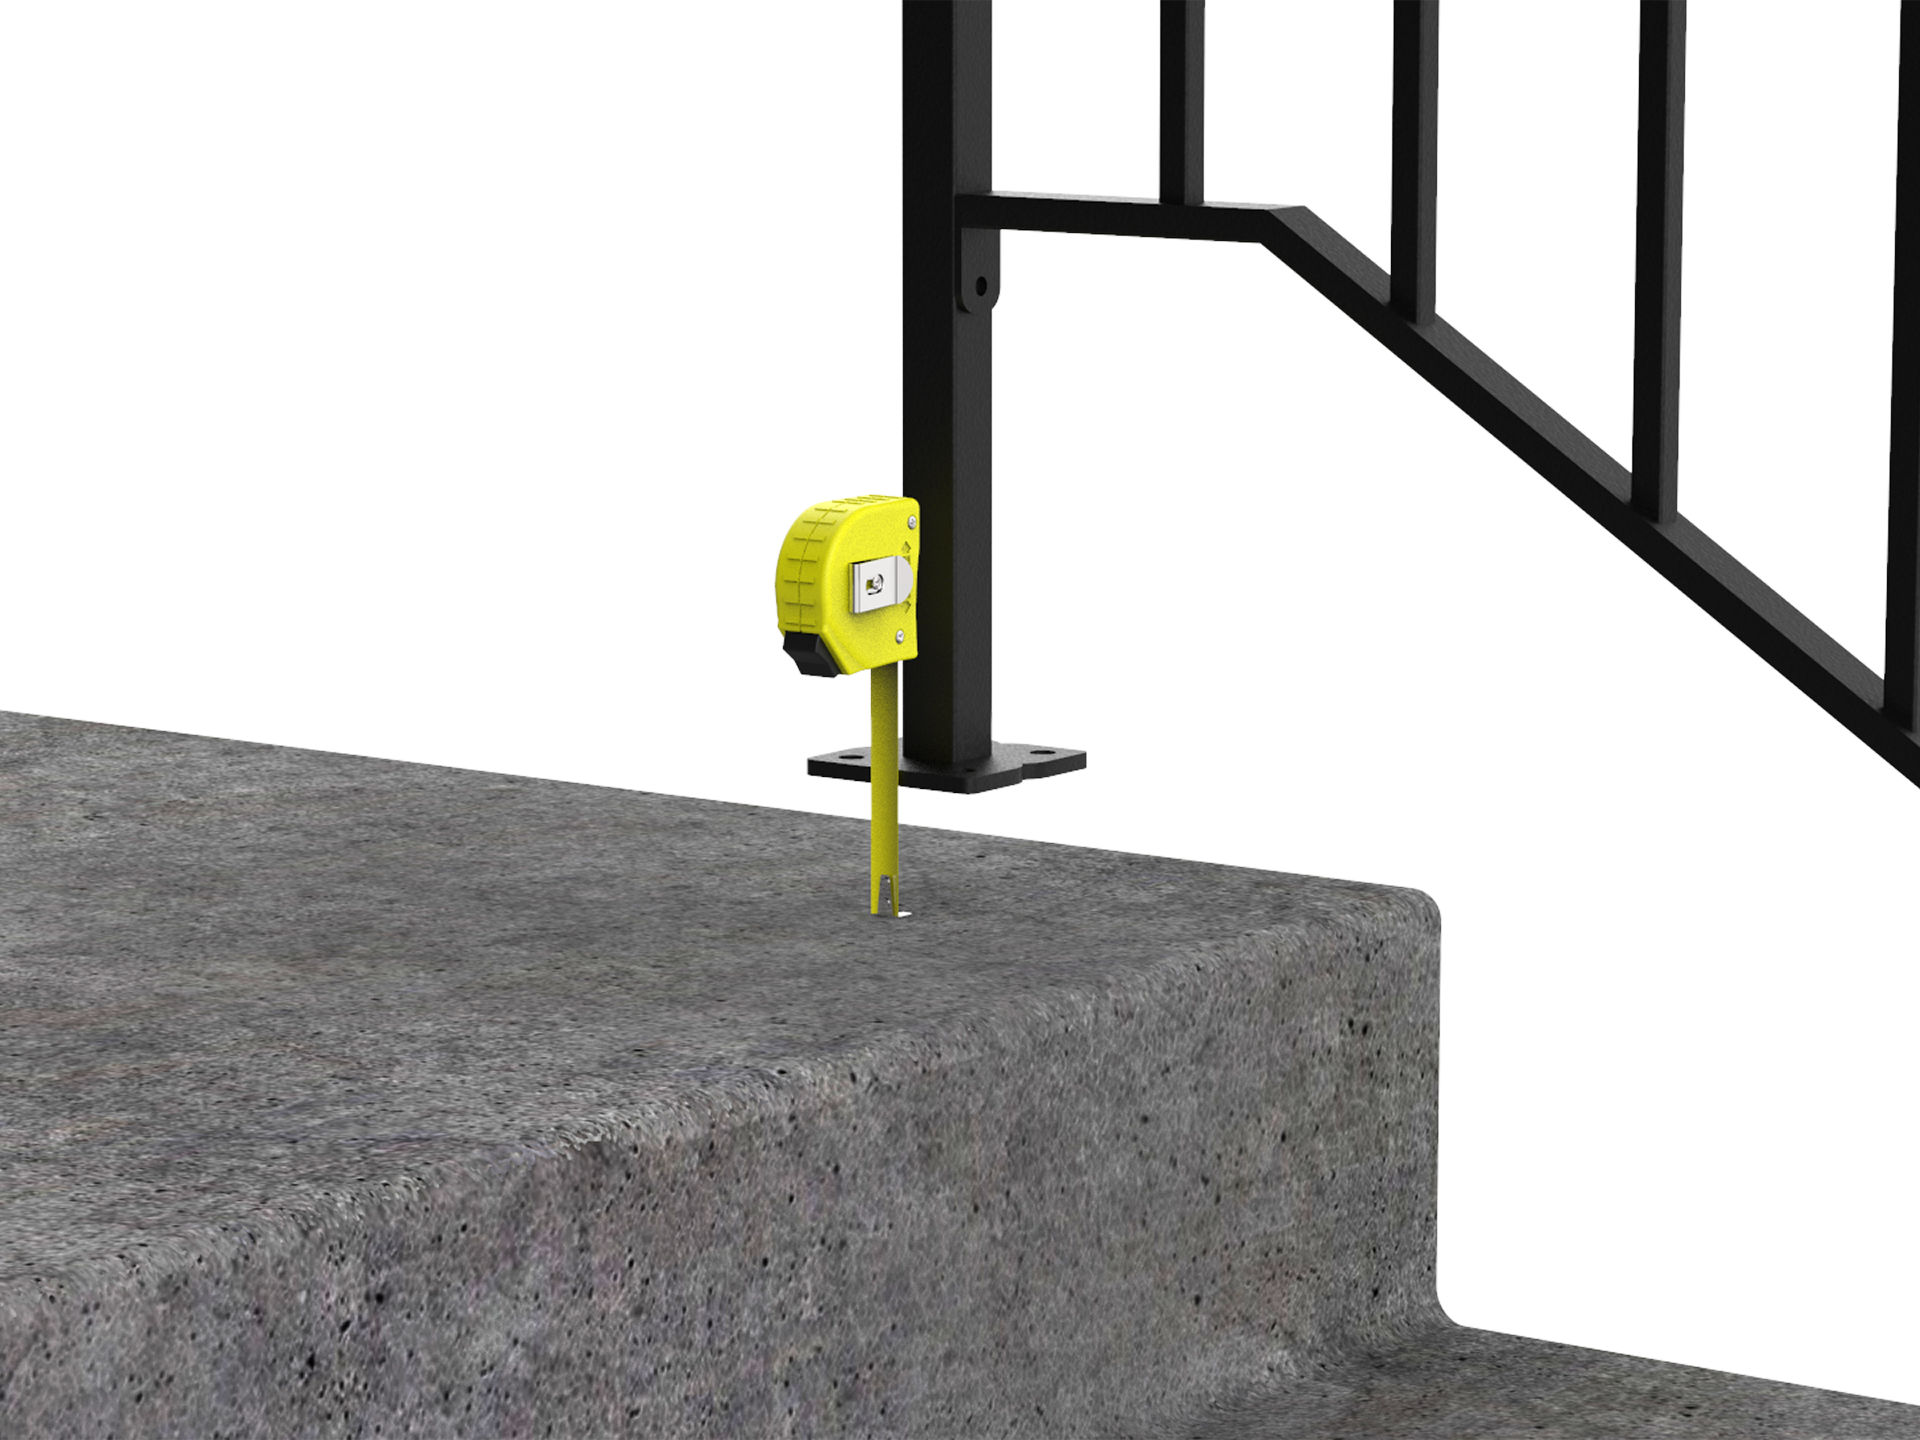
With the handrail setting plumb, measure the distance from the top step to the bottom of the upper post mount plate.
This measurement is how much material you will need to remove from the bottom post.
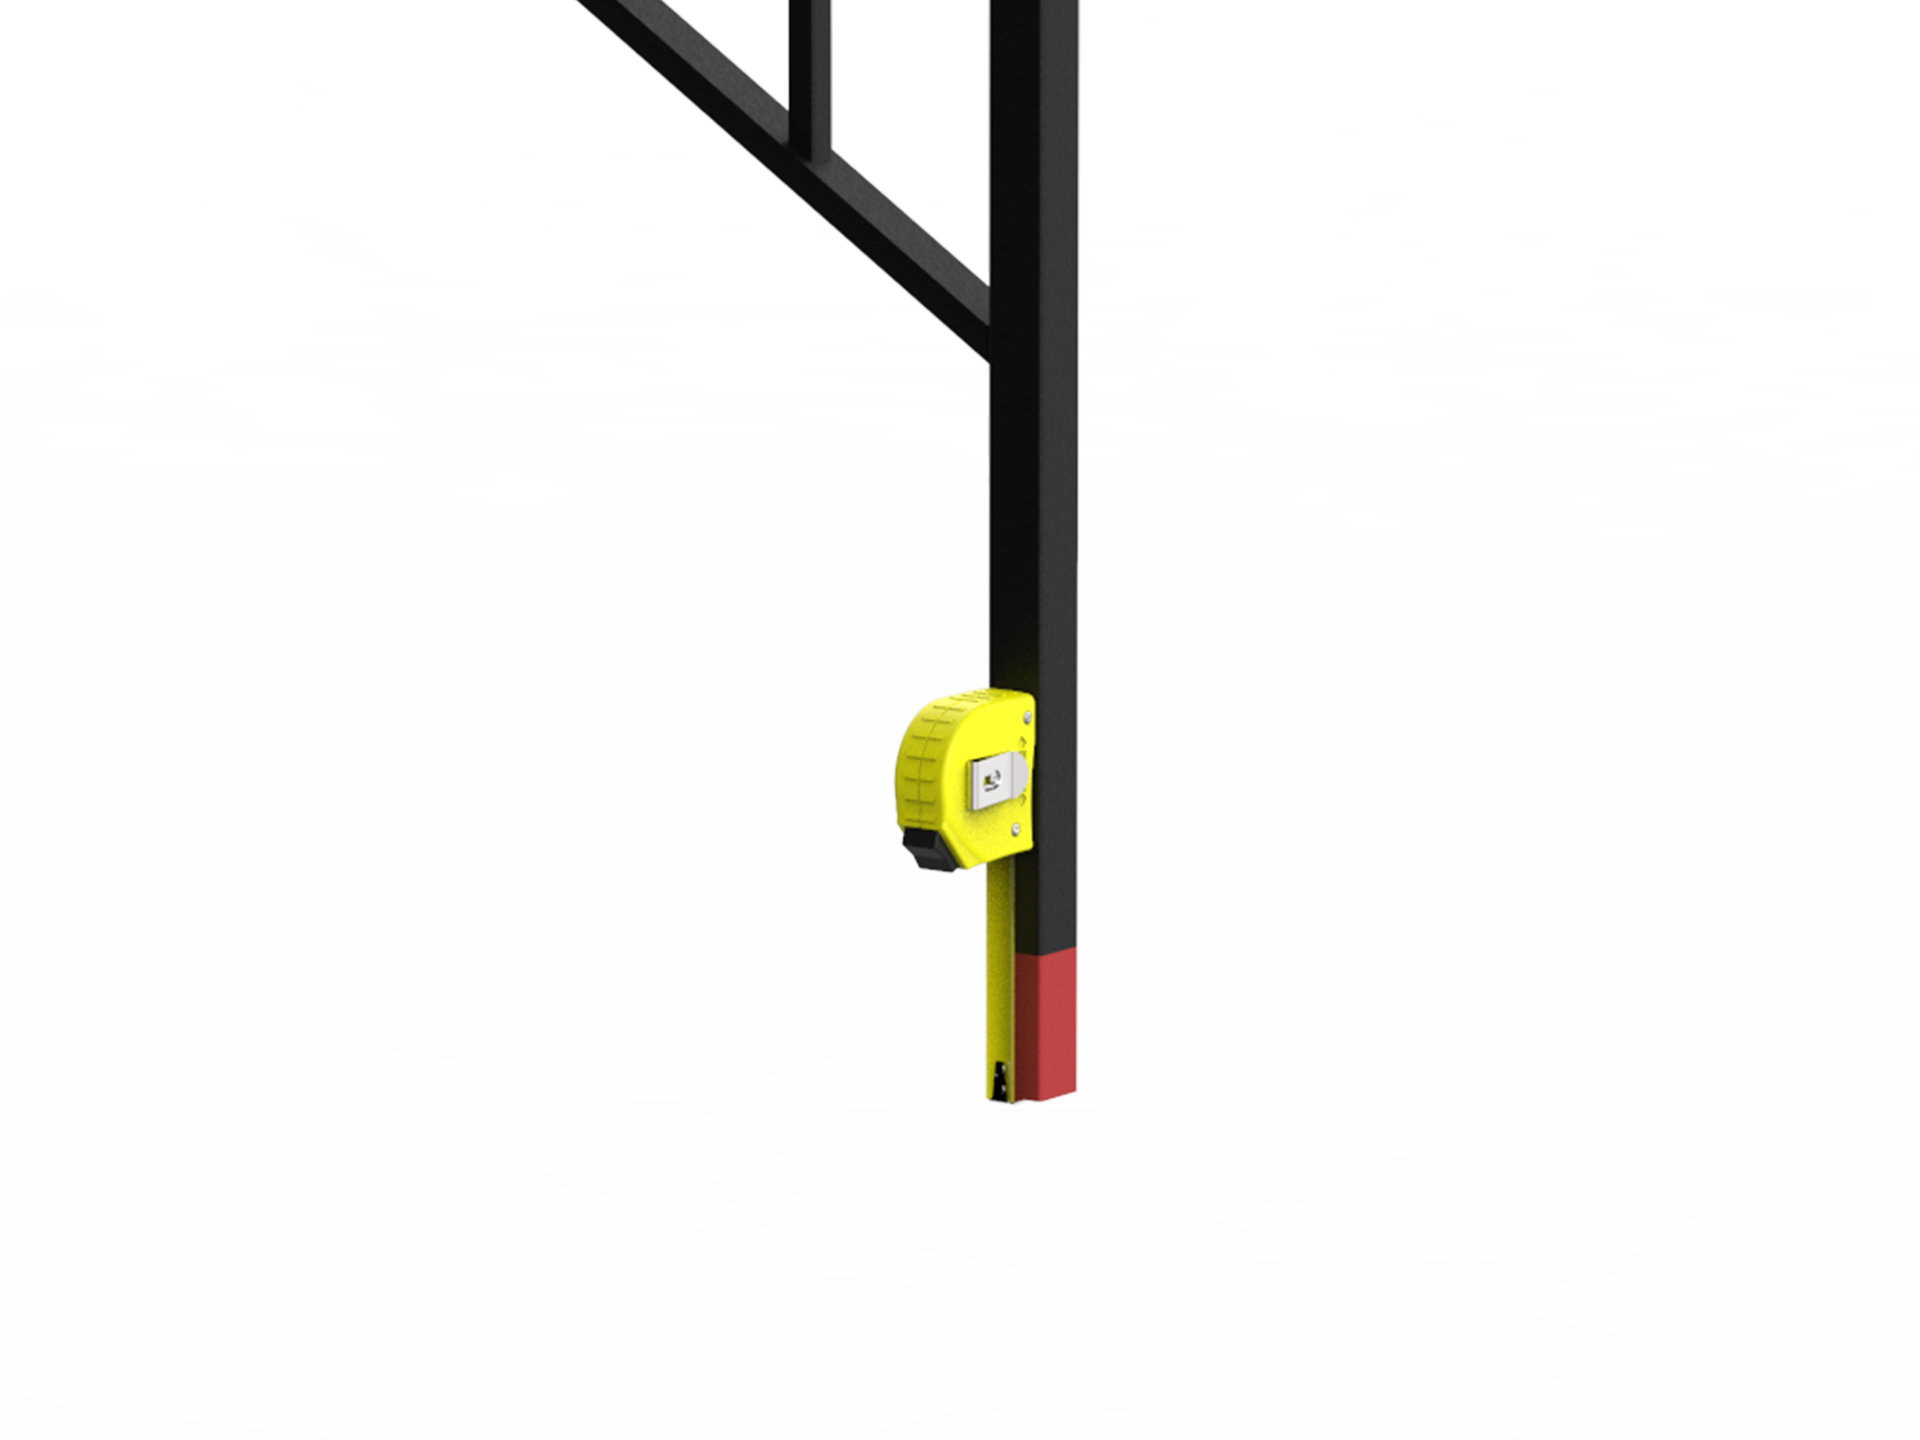
Remove the Post Mount Bracket from the bottom post, and measure from the bottom of the post.
Take the measurement from Step 5 and mark onto the bottom post.
Make a cut at this mark.
Touch up any exposed steel using the included touch up paint.
Replace the lower post mount bracket into the bottom of the post and verify your handrail sets plumb in all directions.
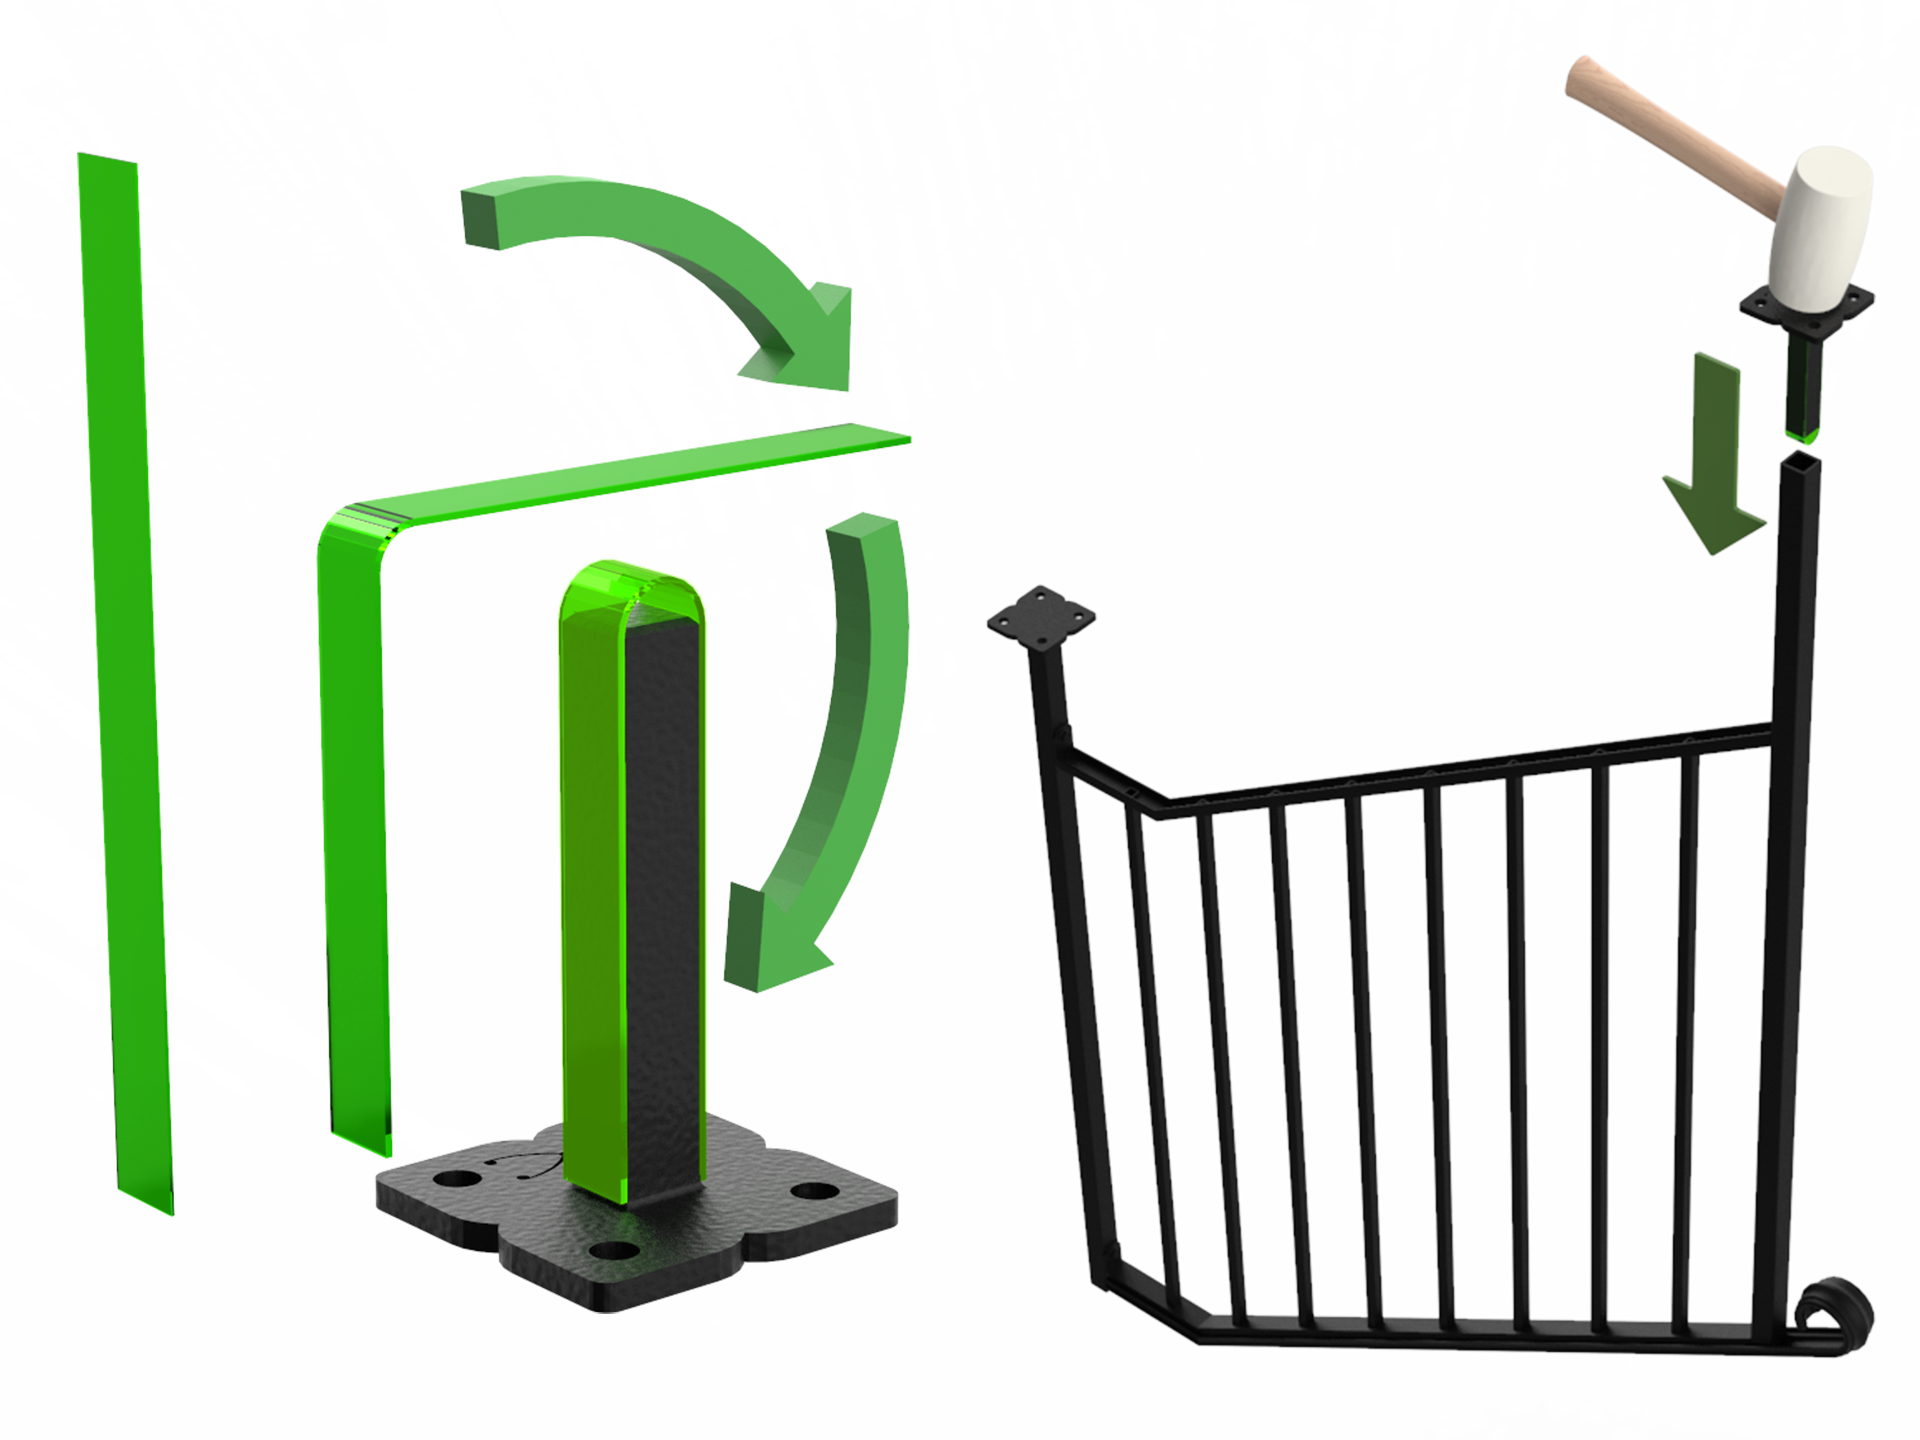
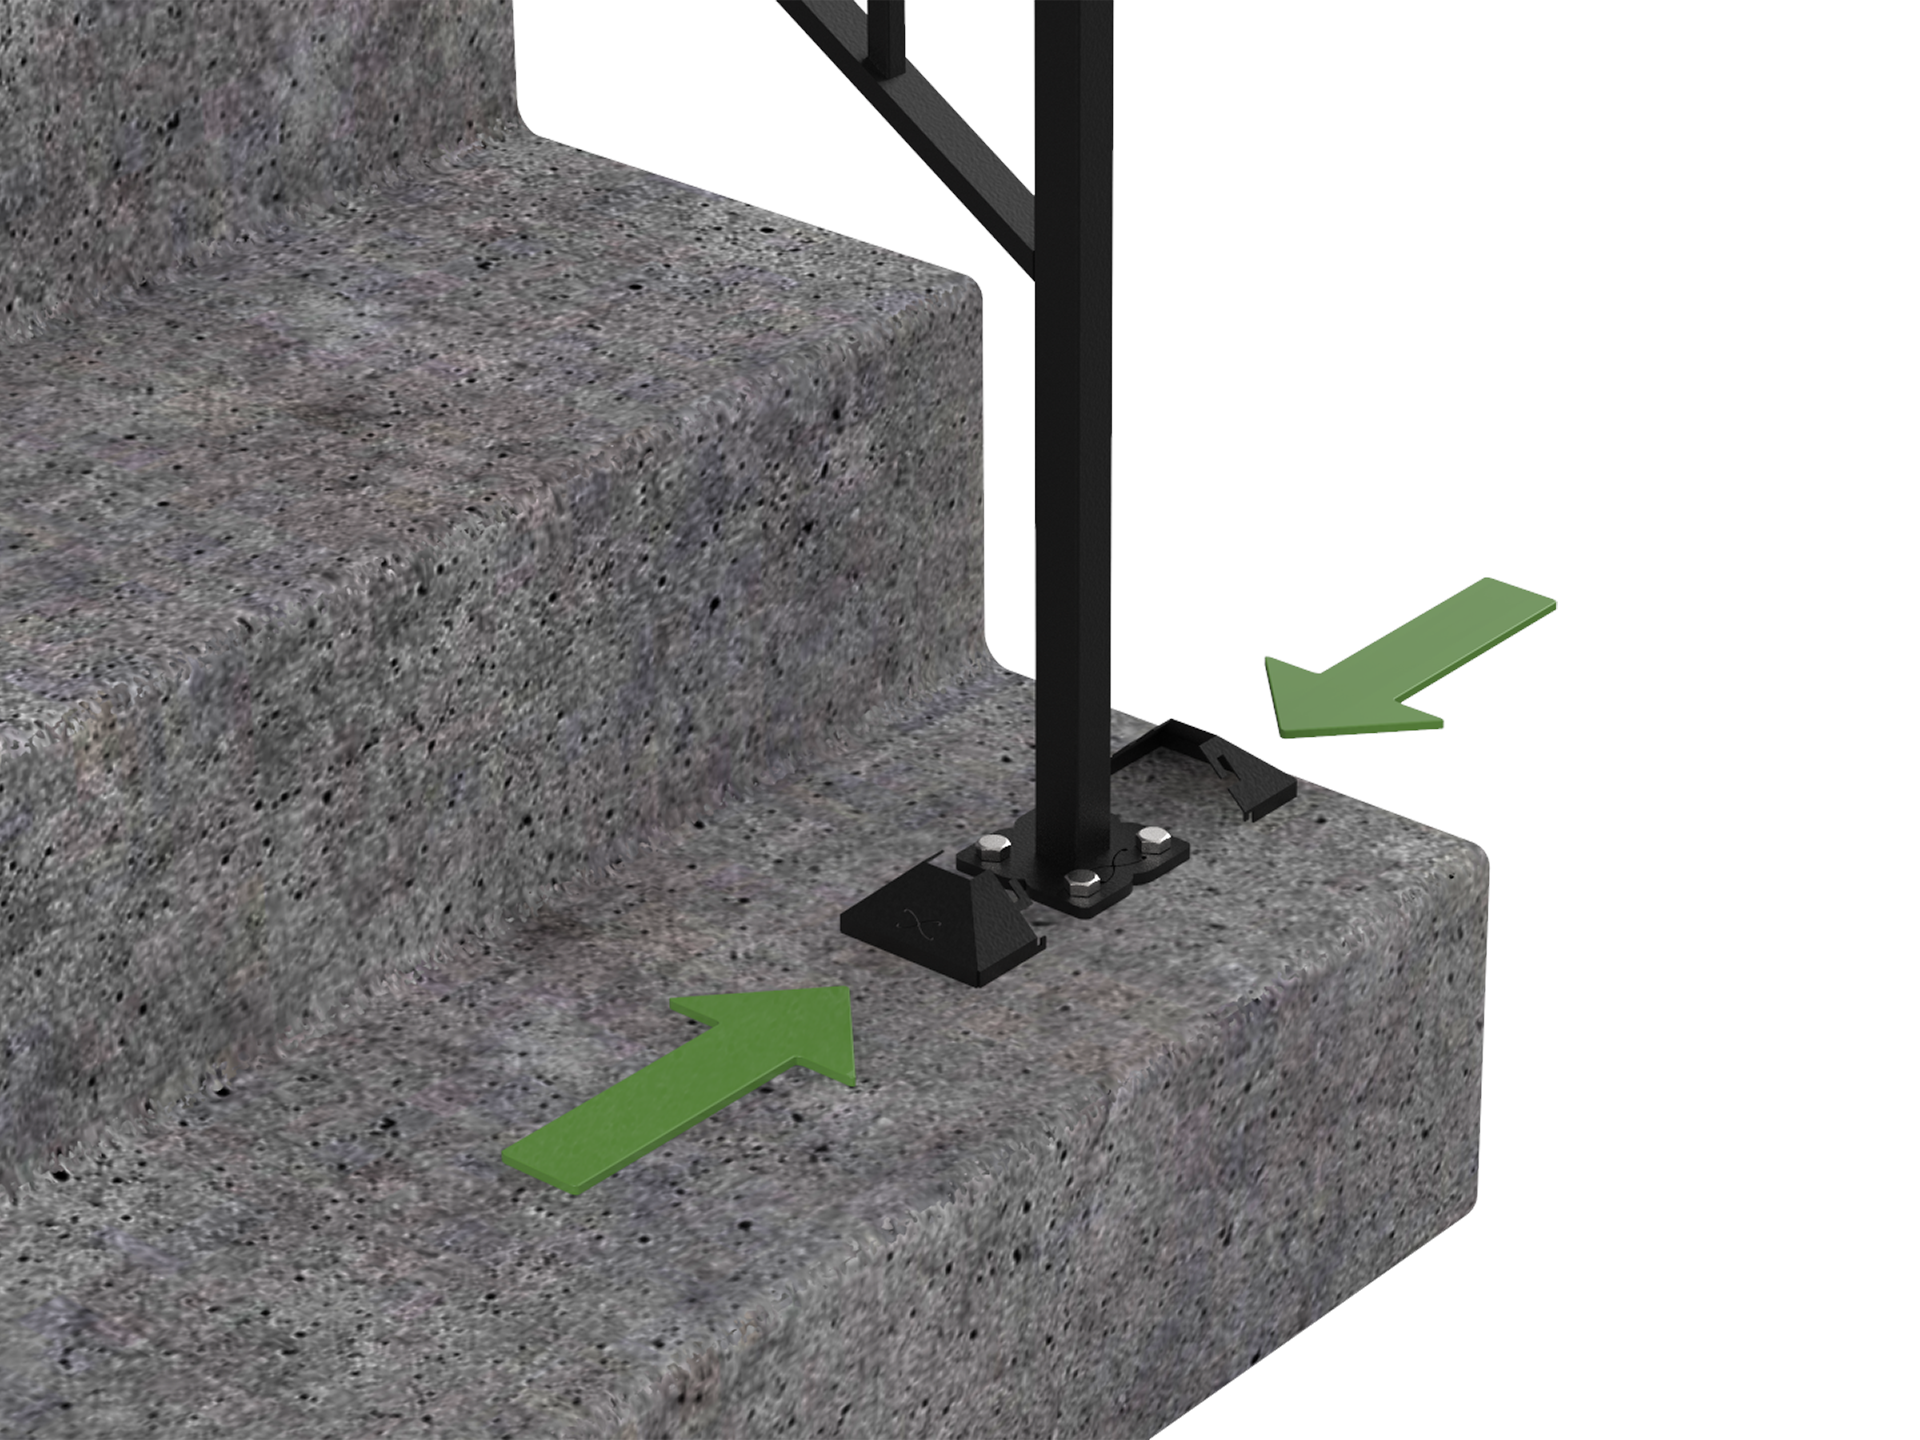
Remove the dry fitted Post Mount Bracket, and locate the green snug strips included in the kit. Wrap the snug strips to engage the sides of the post. Ensure the snug strips are positioned side to side – NOT FRONT TO BACK. Using a mallet, tap the Post Mount Bracket and snug strip into the lower post.
Remove the dry fitted Post Mount Bracket, and locate the green snug strips included in the kit. Wrap the snug strips to engage the sides of the post. Ensure the snug strips are positioned side to side – NOT FRONT TO BACK. Using a mallet, tap the Post Mount Bracket and snug strip into the lower post.
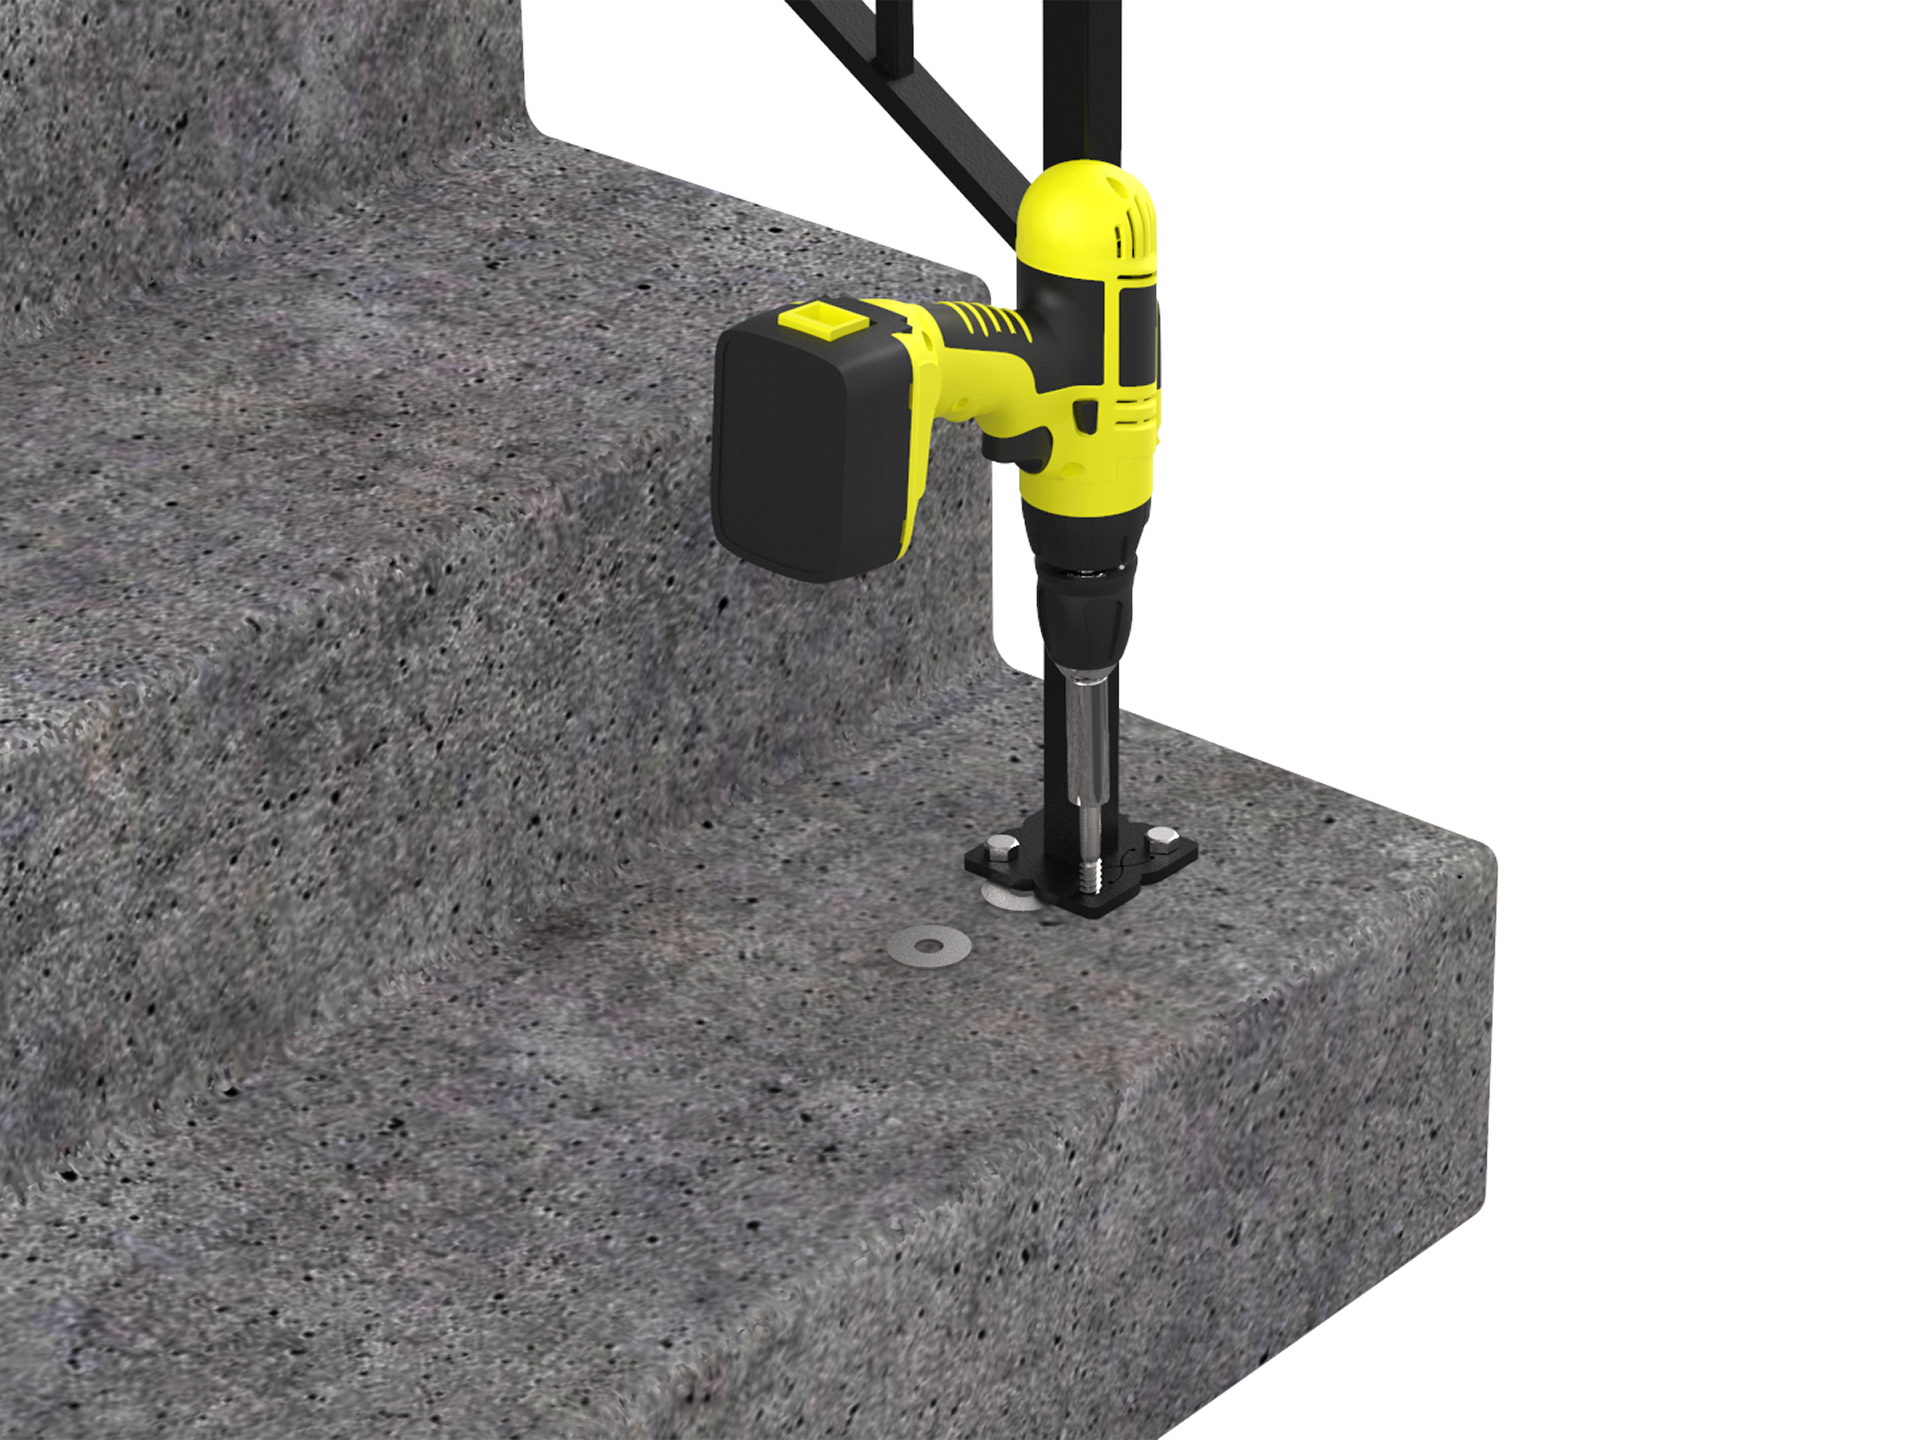
Make sure the posts are sitting a minimum of 2” from each side of the steps. Using a drill fitted with the included drill bit, drill through one of the holes on the post mount. Ensure you are drilling deep enough to accommodate the length of your fastener. For concrete, drill 3” deep, and for brick drill 6” deep.
Select fasteners for your application, making sure that they are appropriate for the material you are drilling into, and secure the fastener into the hole that you have just drilled. Be sure to drill one hole and secure one fastener at a time. If the post is no longer level after fastening, place the included washers under the post mounts until a level reads plumb.
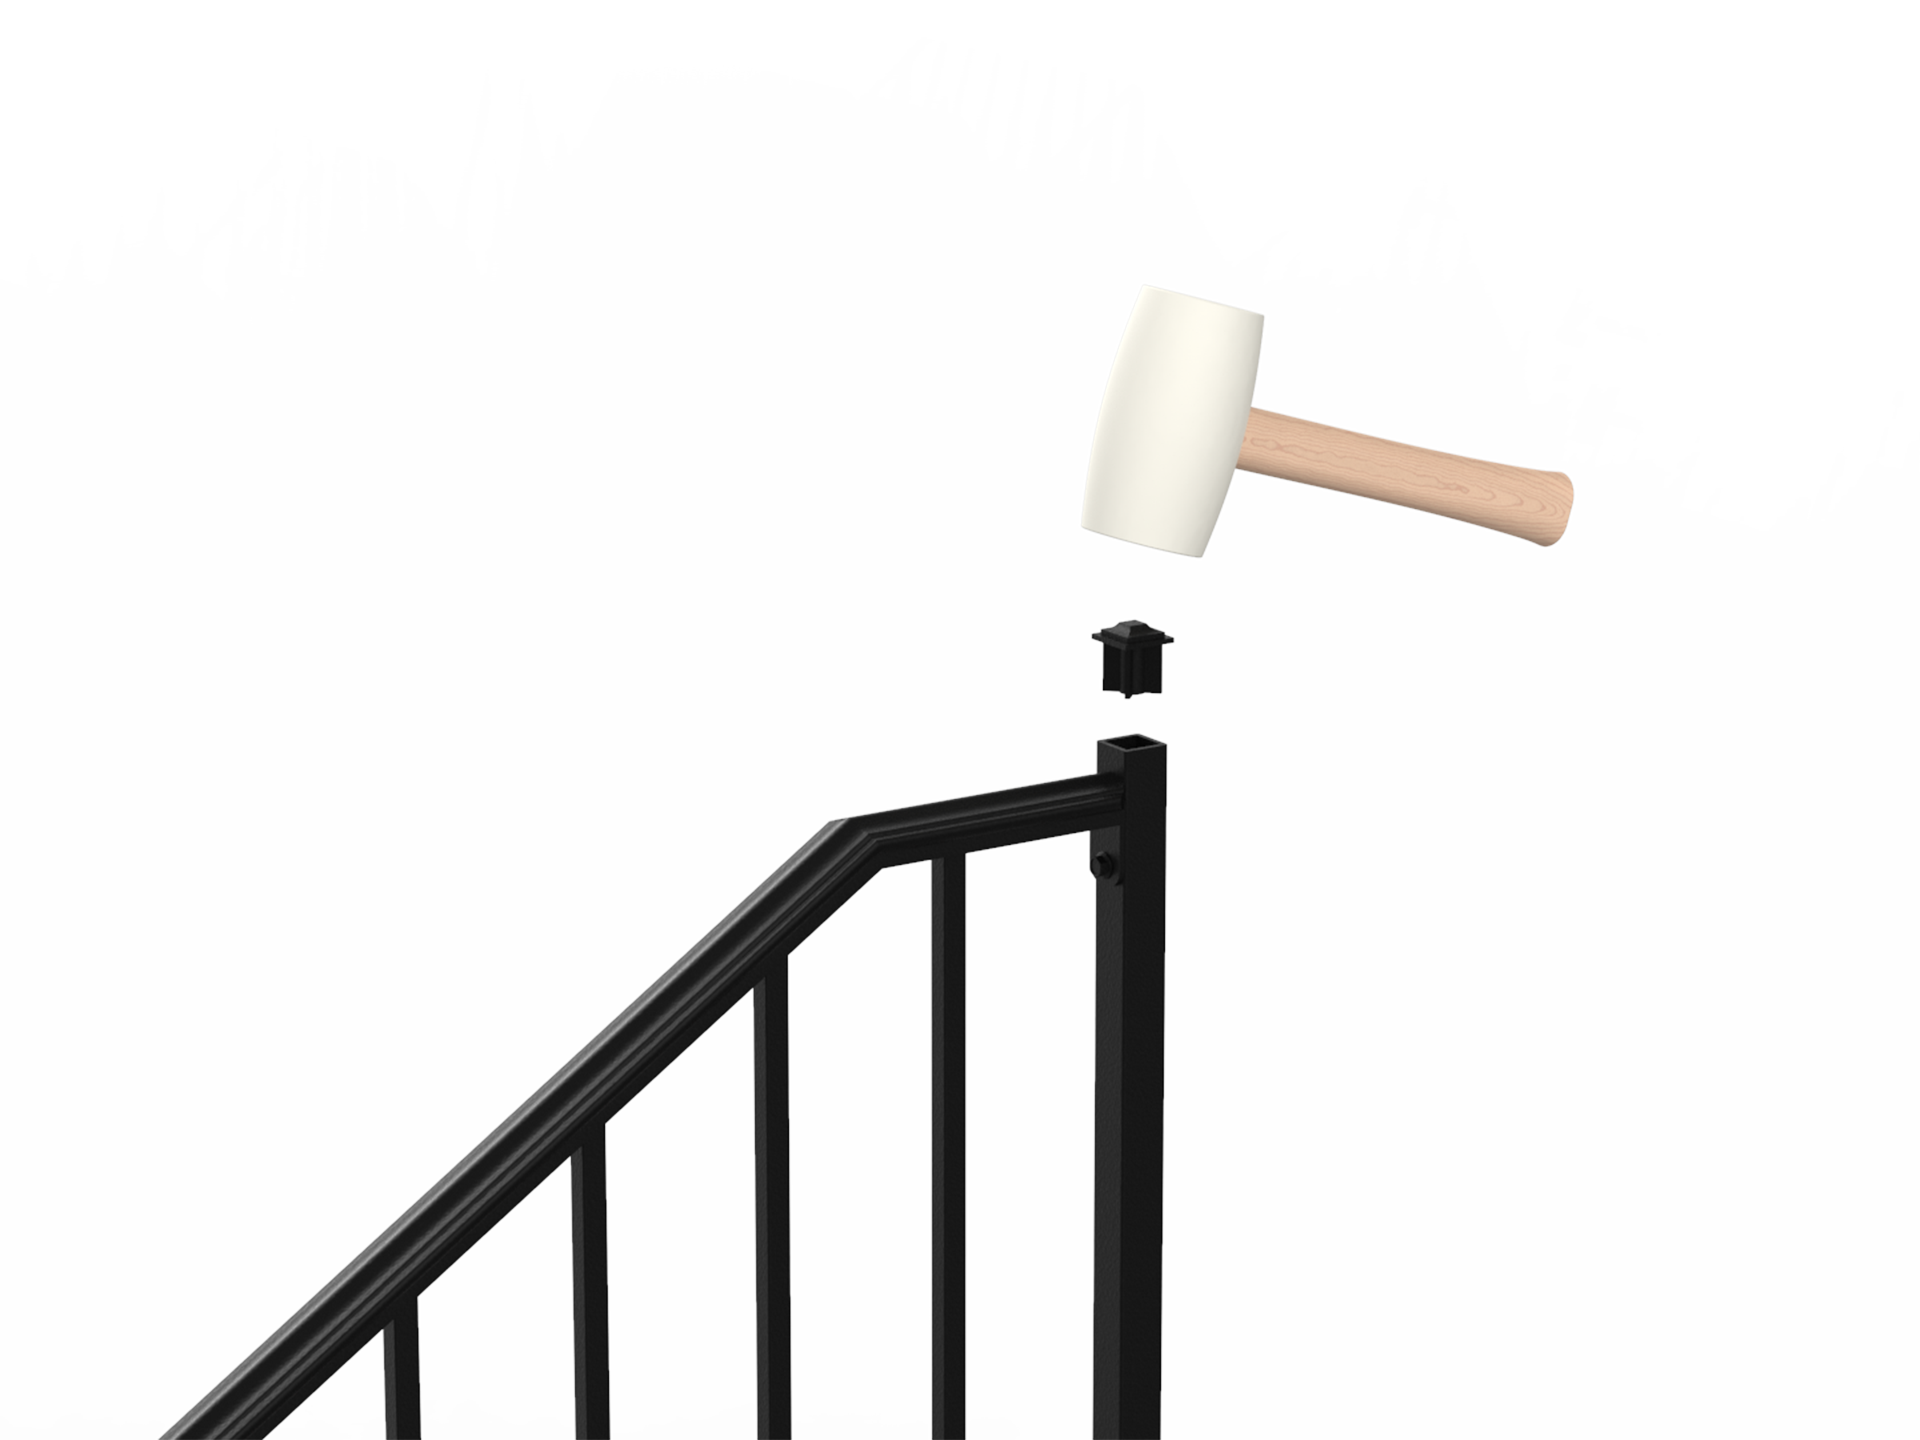
Install the newel post cap into the upper post top by gently tapping it in with a rubber mallet.
Install the stainless steel escutcheons over the post mount bracket plates.

