Installation Instructions:
Level Handrail Continuing a Newel Rail
Video Instructions
Written Installation Instructions
Here Are The Steps To Have A Quality Handrail Installed In About An Hour
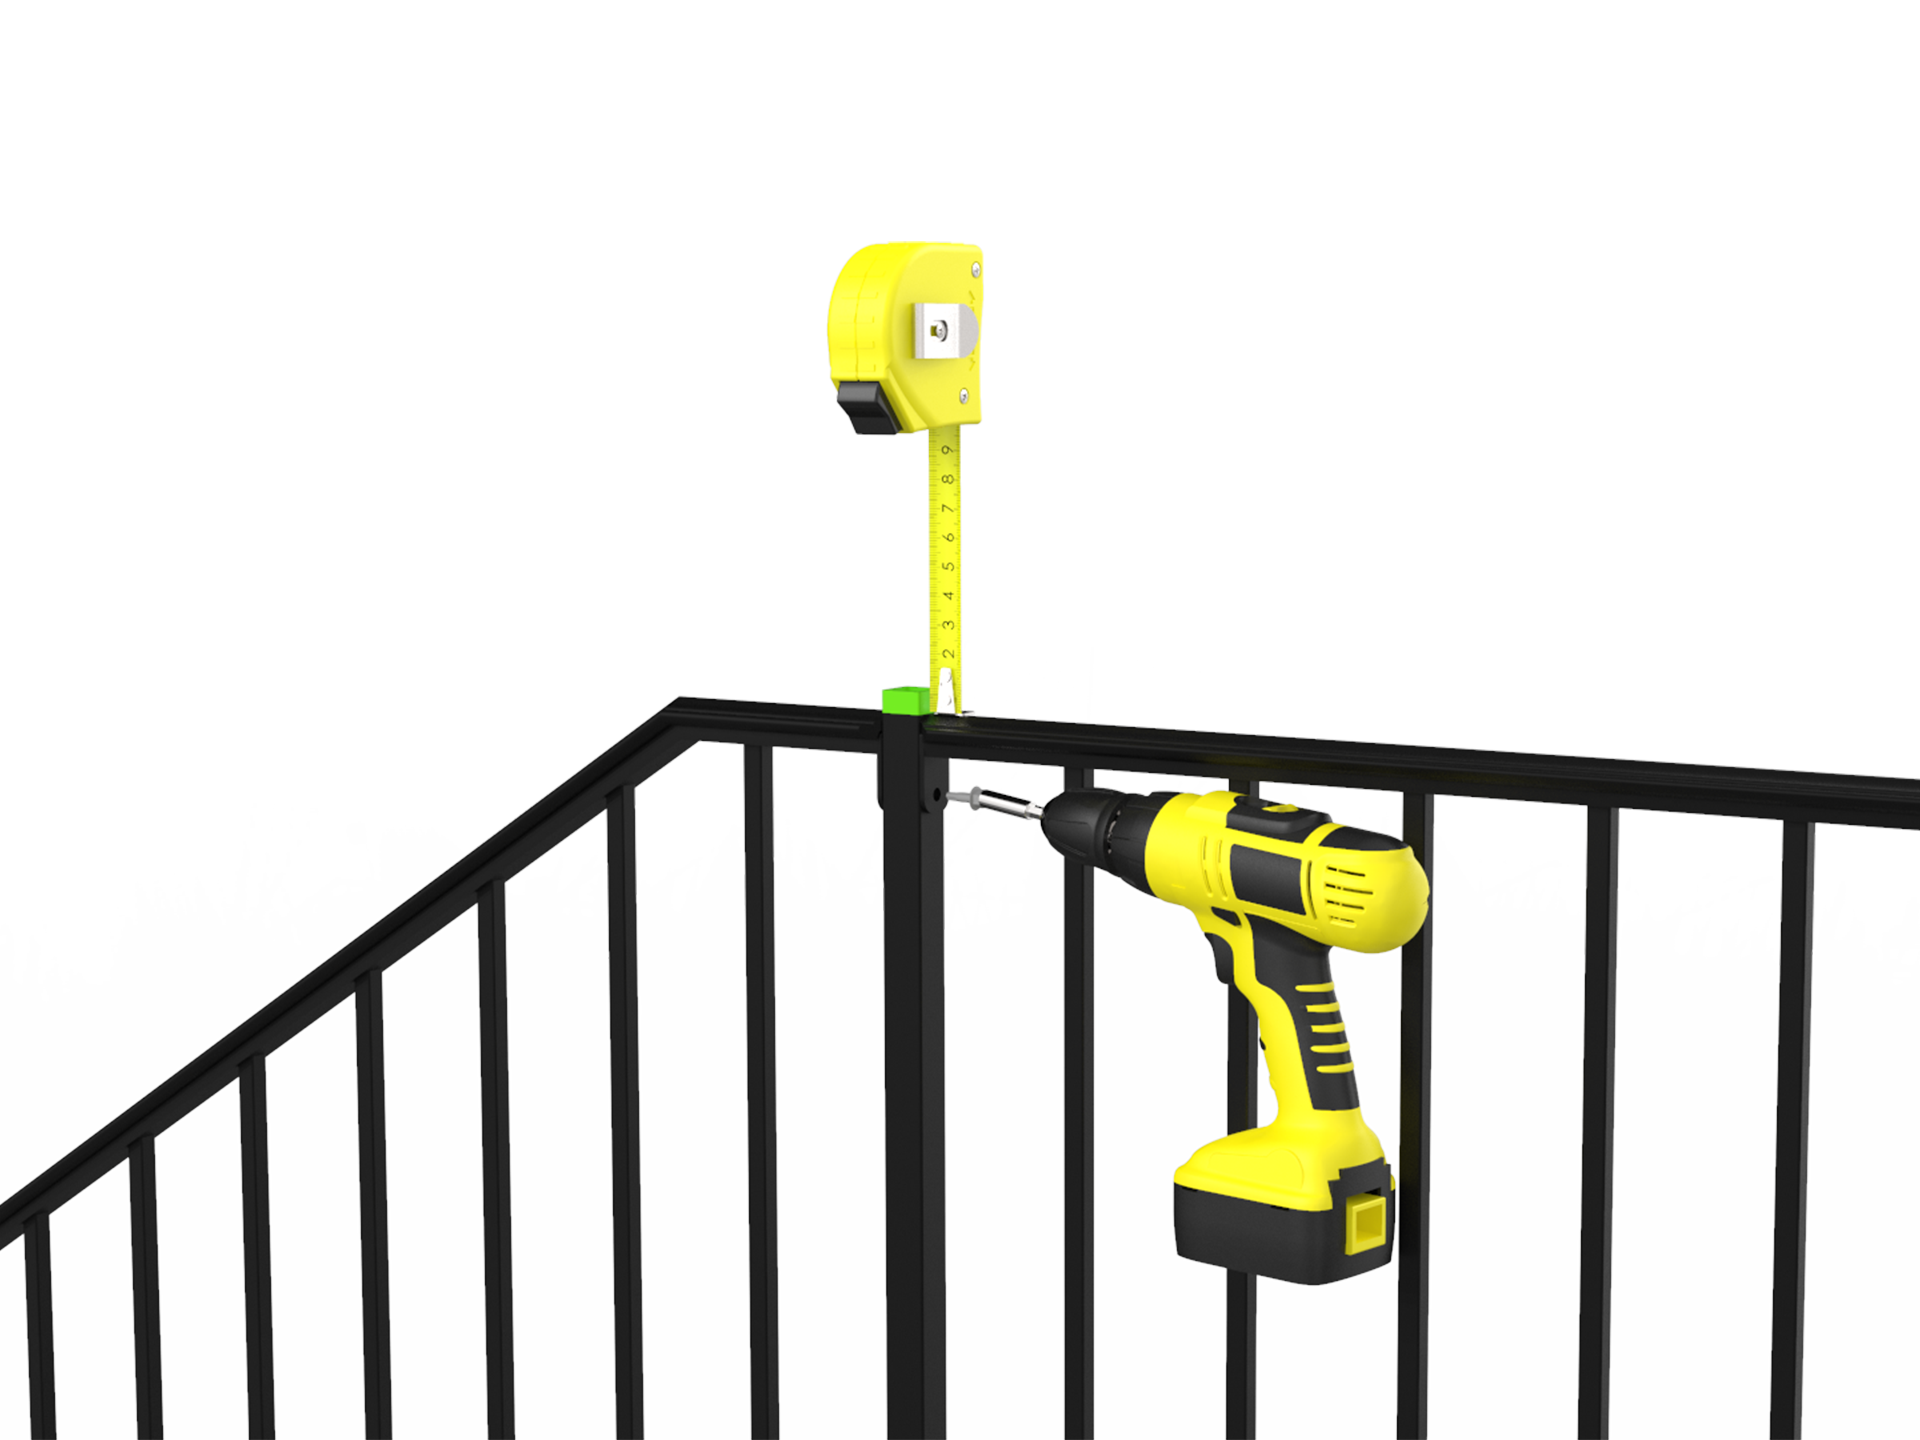
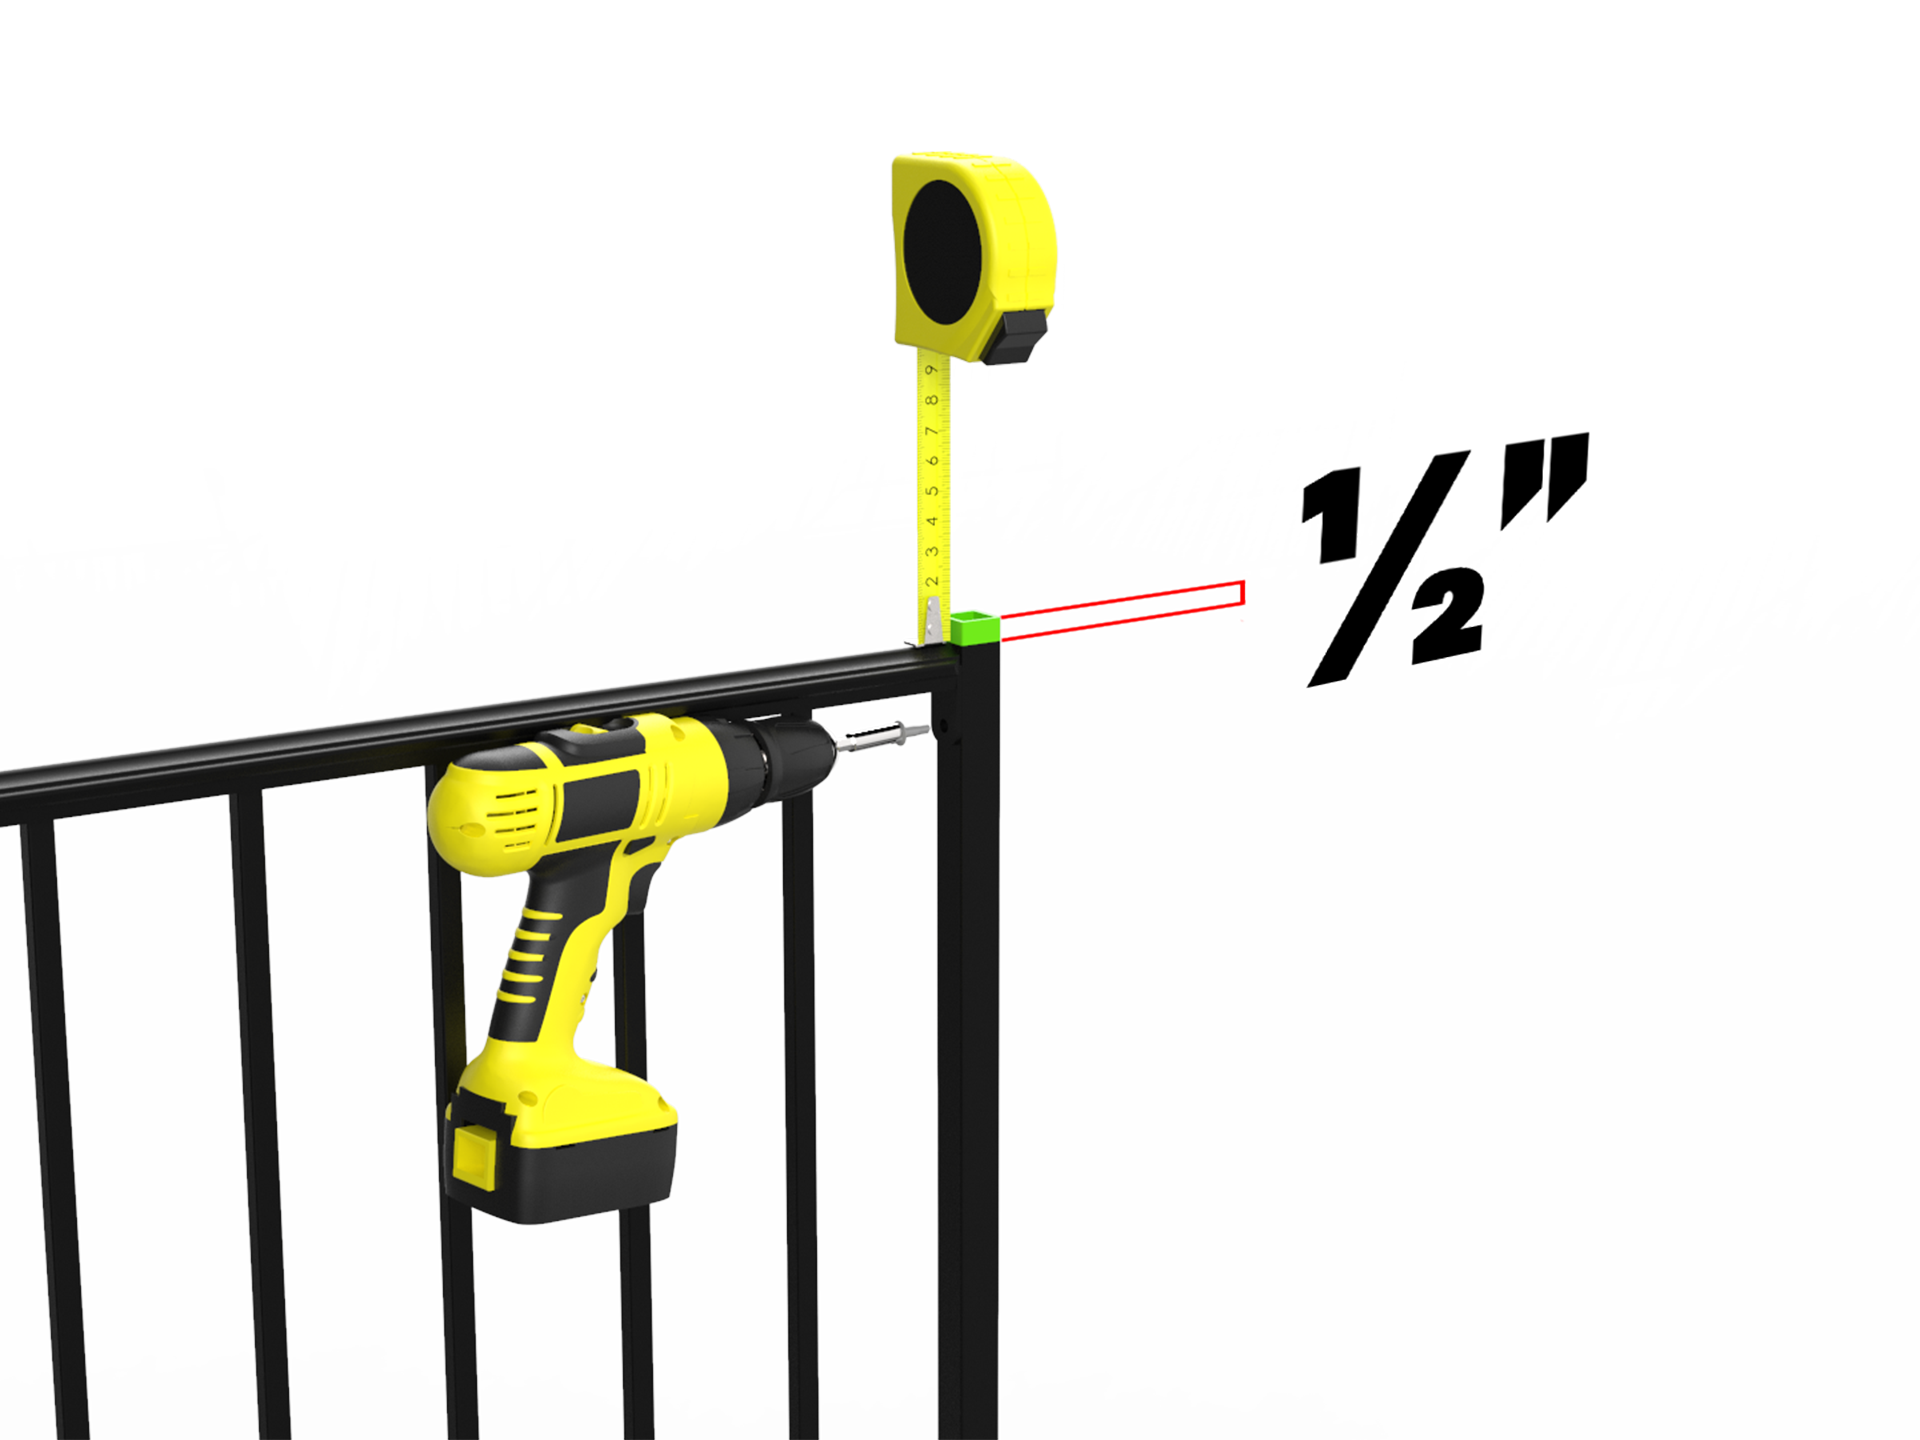
Measure ½” off the top of the rail already fastened to the Newel rail. Make sure to mark the correct face for the direction you want your level rail to extend. Mark this measurement. Place the top of the Level rail at that measurement to match the top of the Newel rail. Use the included self drilling screws to fasten the level rail to the post.
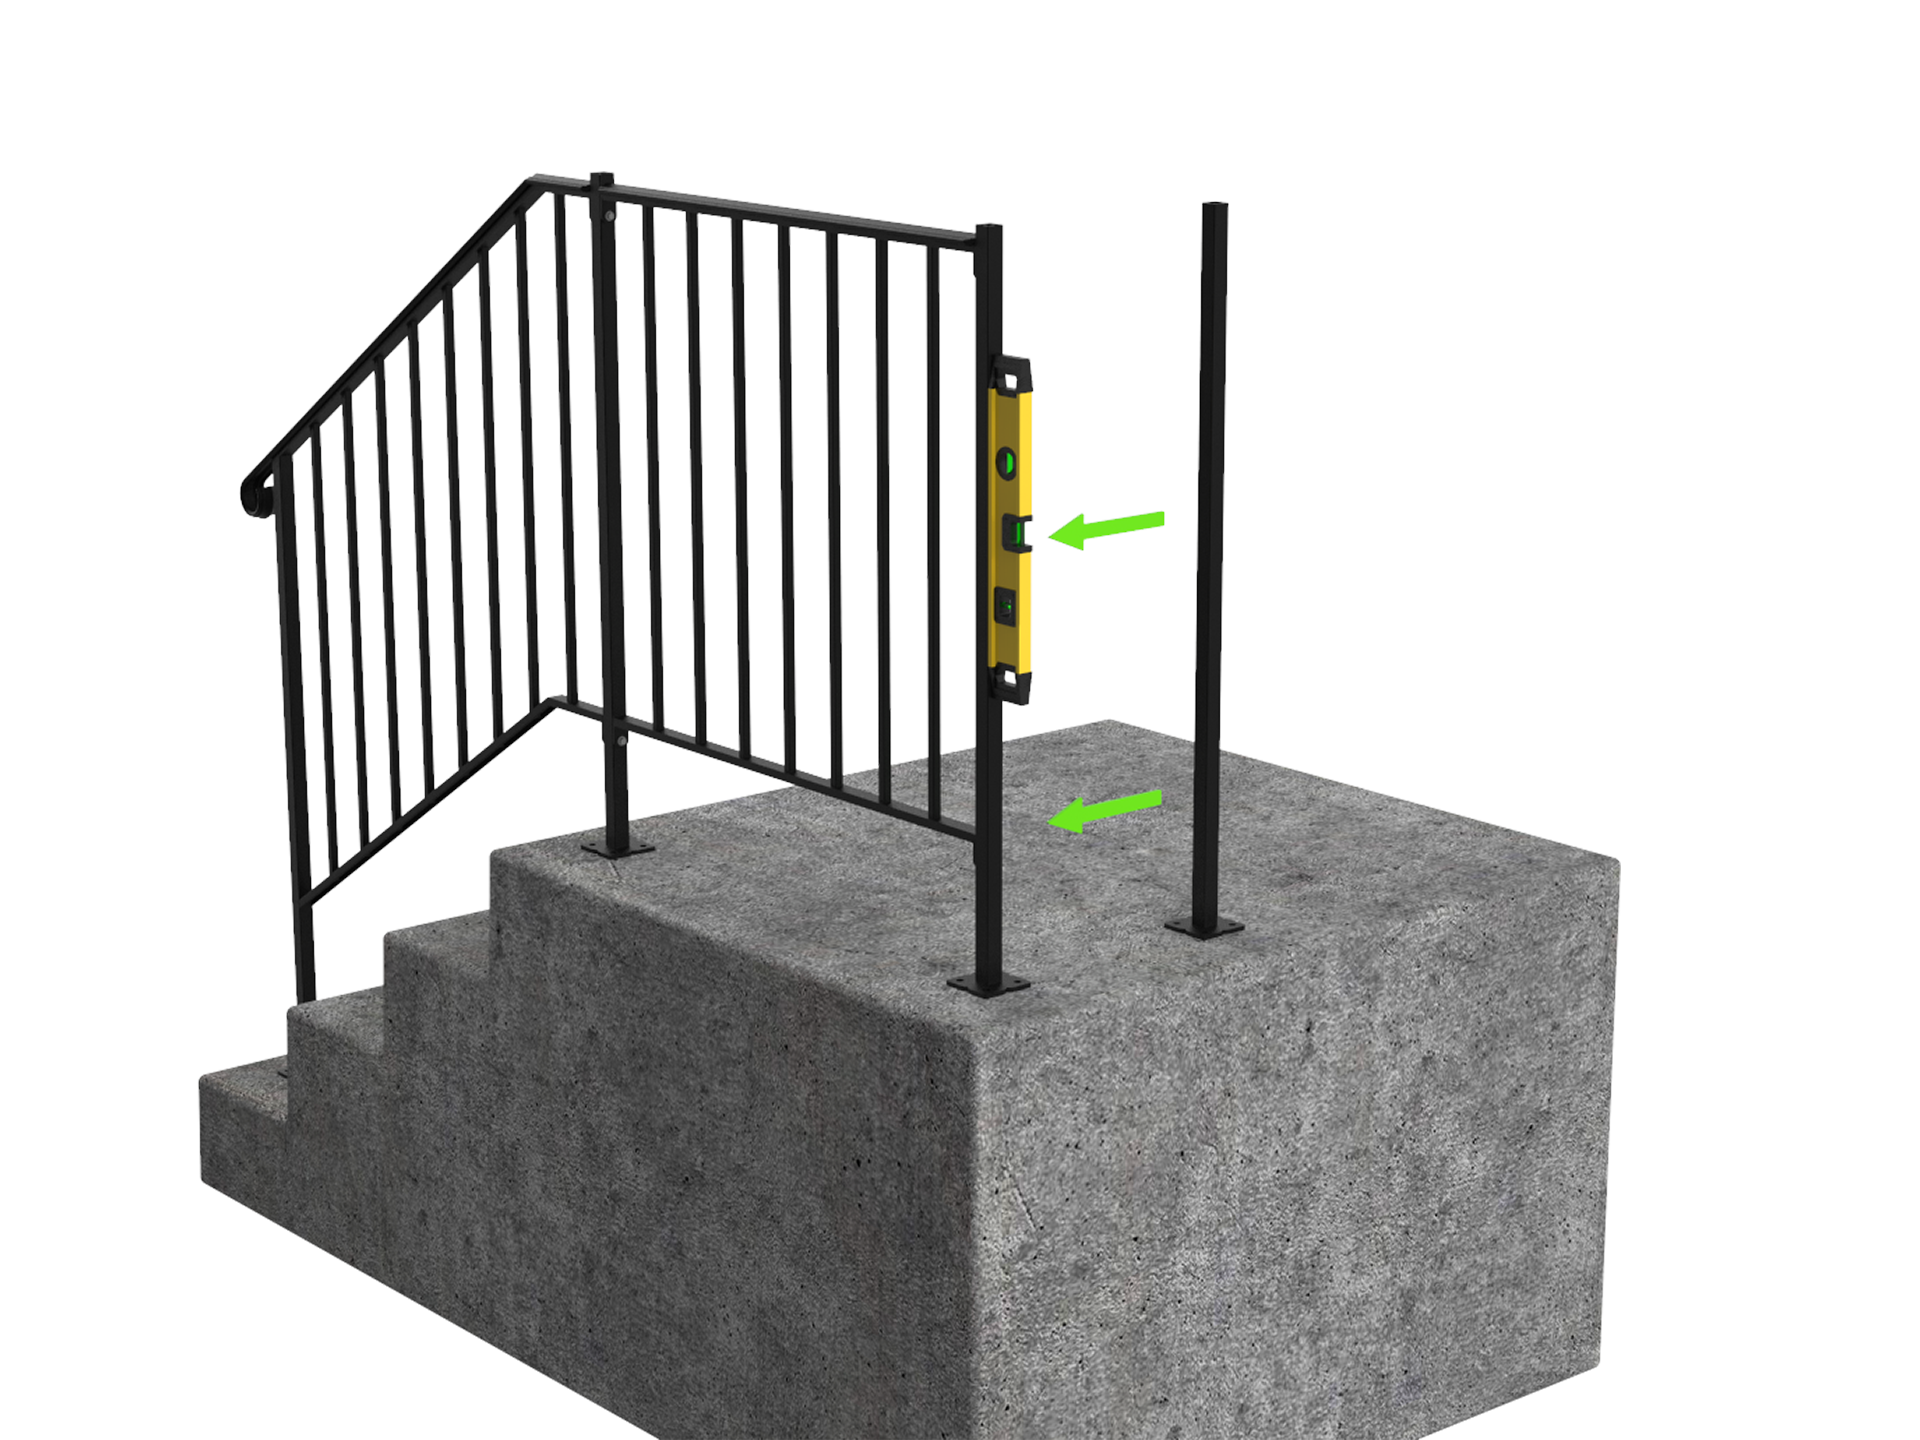
Locate the remaining post and place against the loose end of the Level rail. Use a level to ensure the post will sit plumb in all directions. The post should be the same height as the top post from the Newel rail, so material may have to be removed from this post as well.
Repeat step 1 on the remaining post, making sure that the rail is still reading plumb on a level.
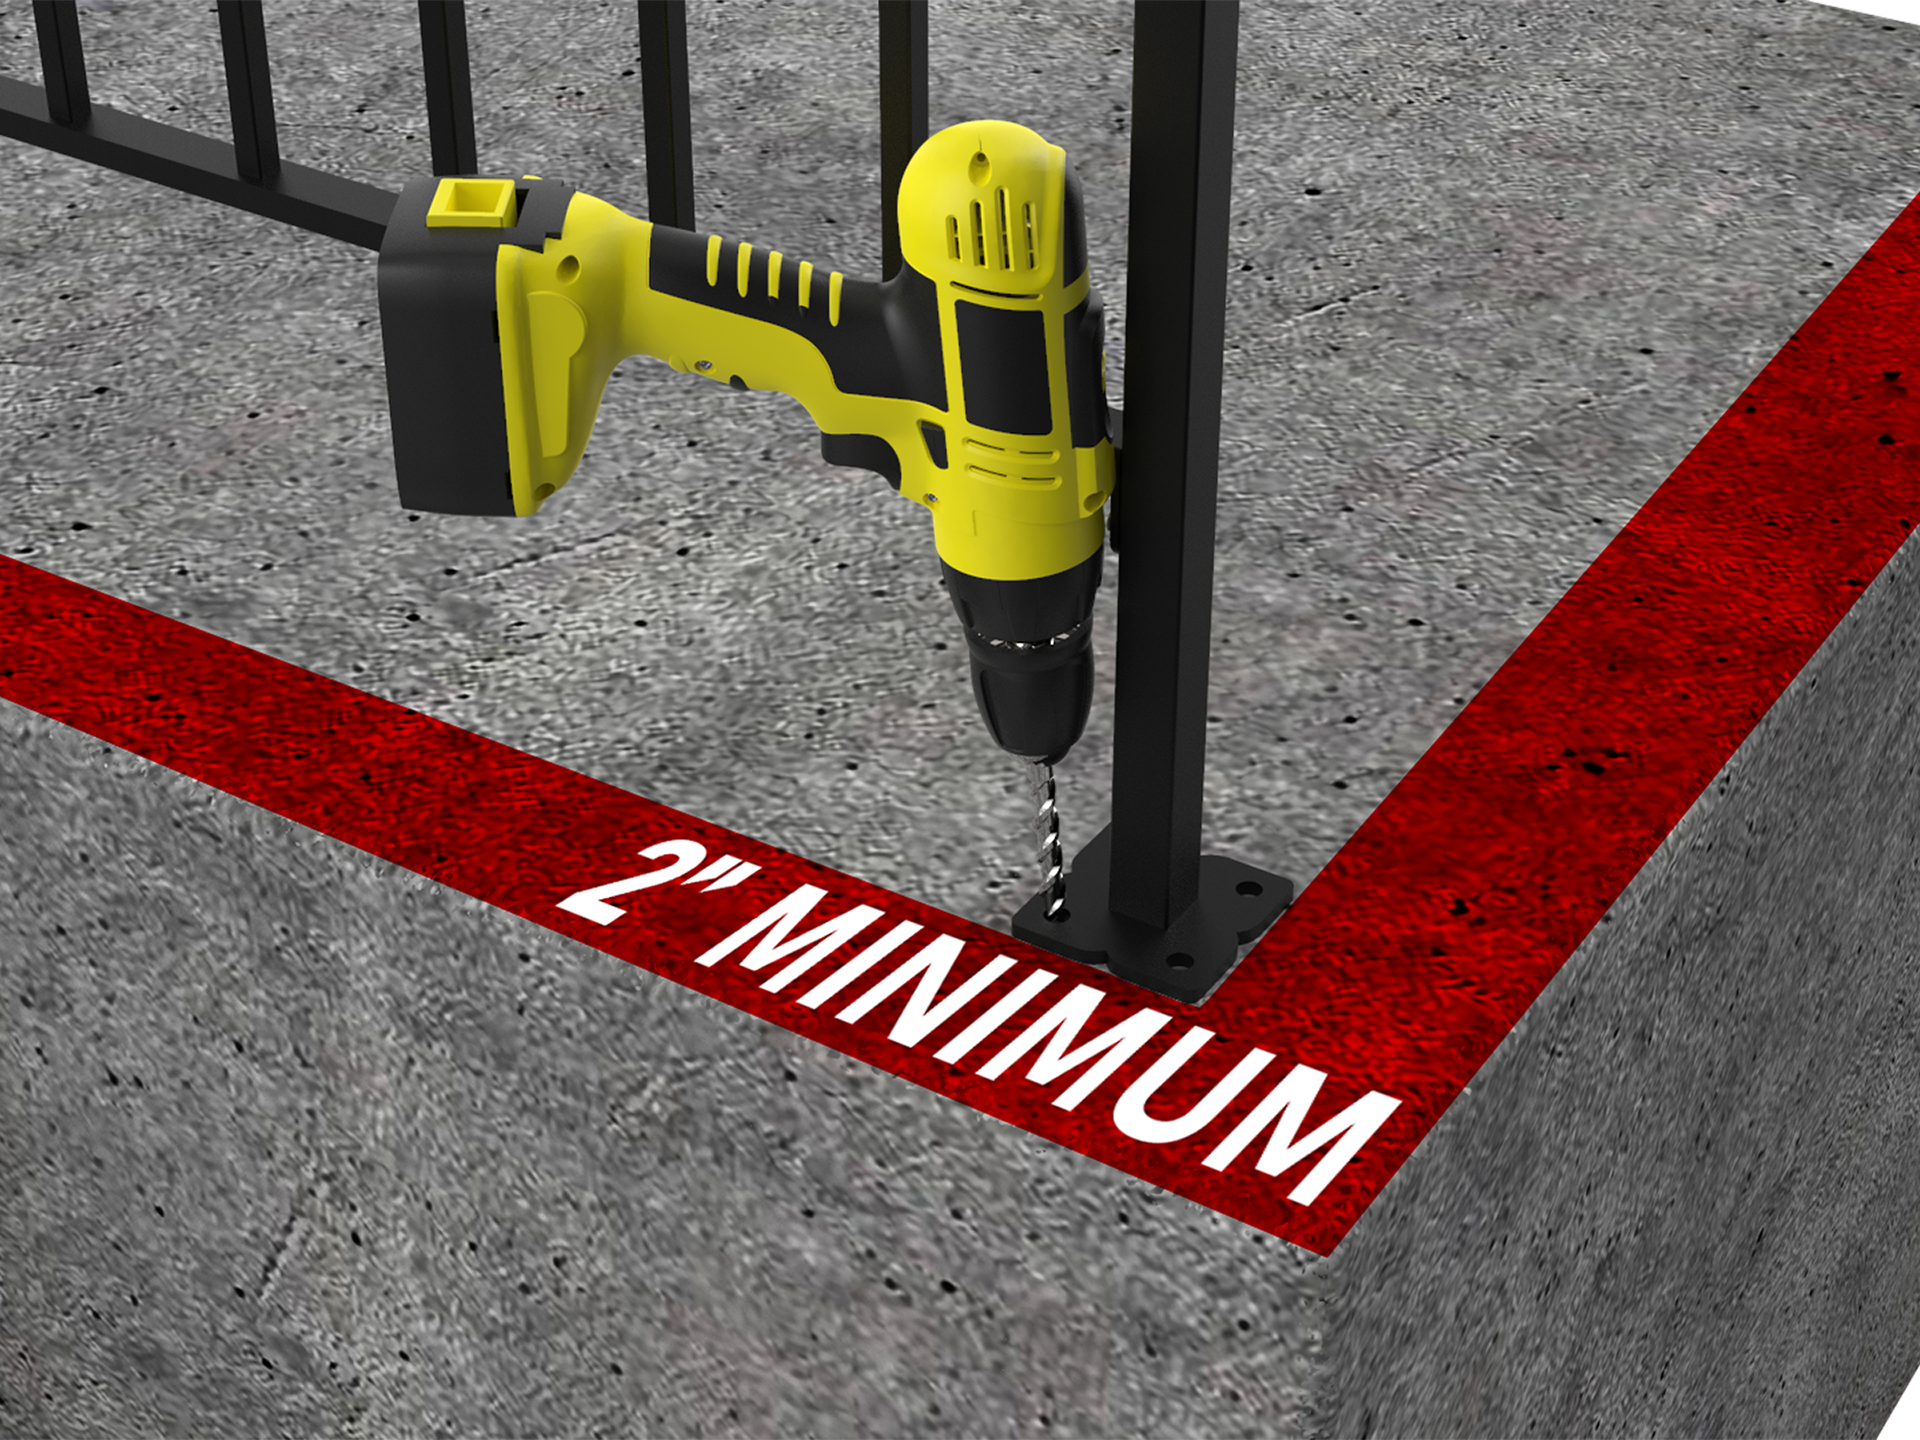
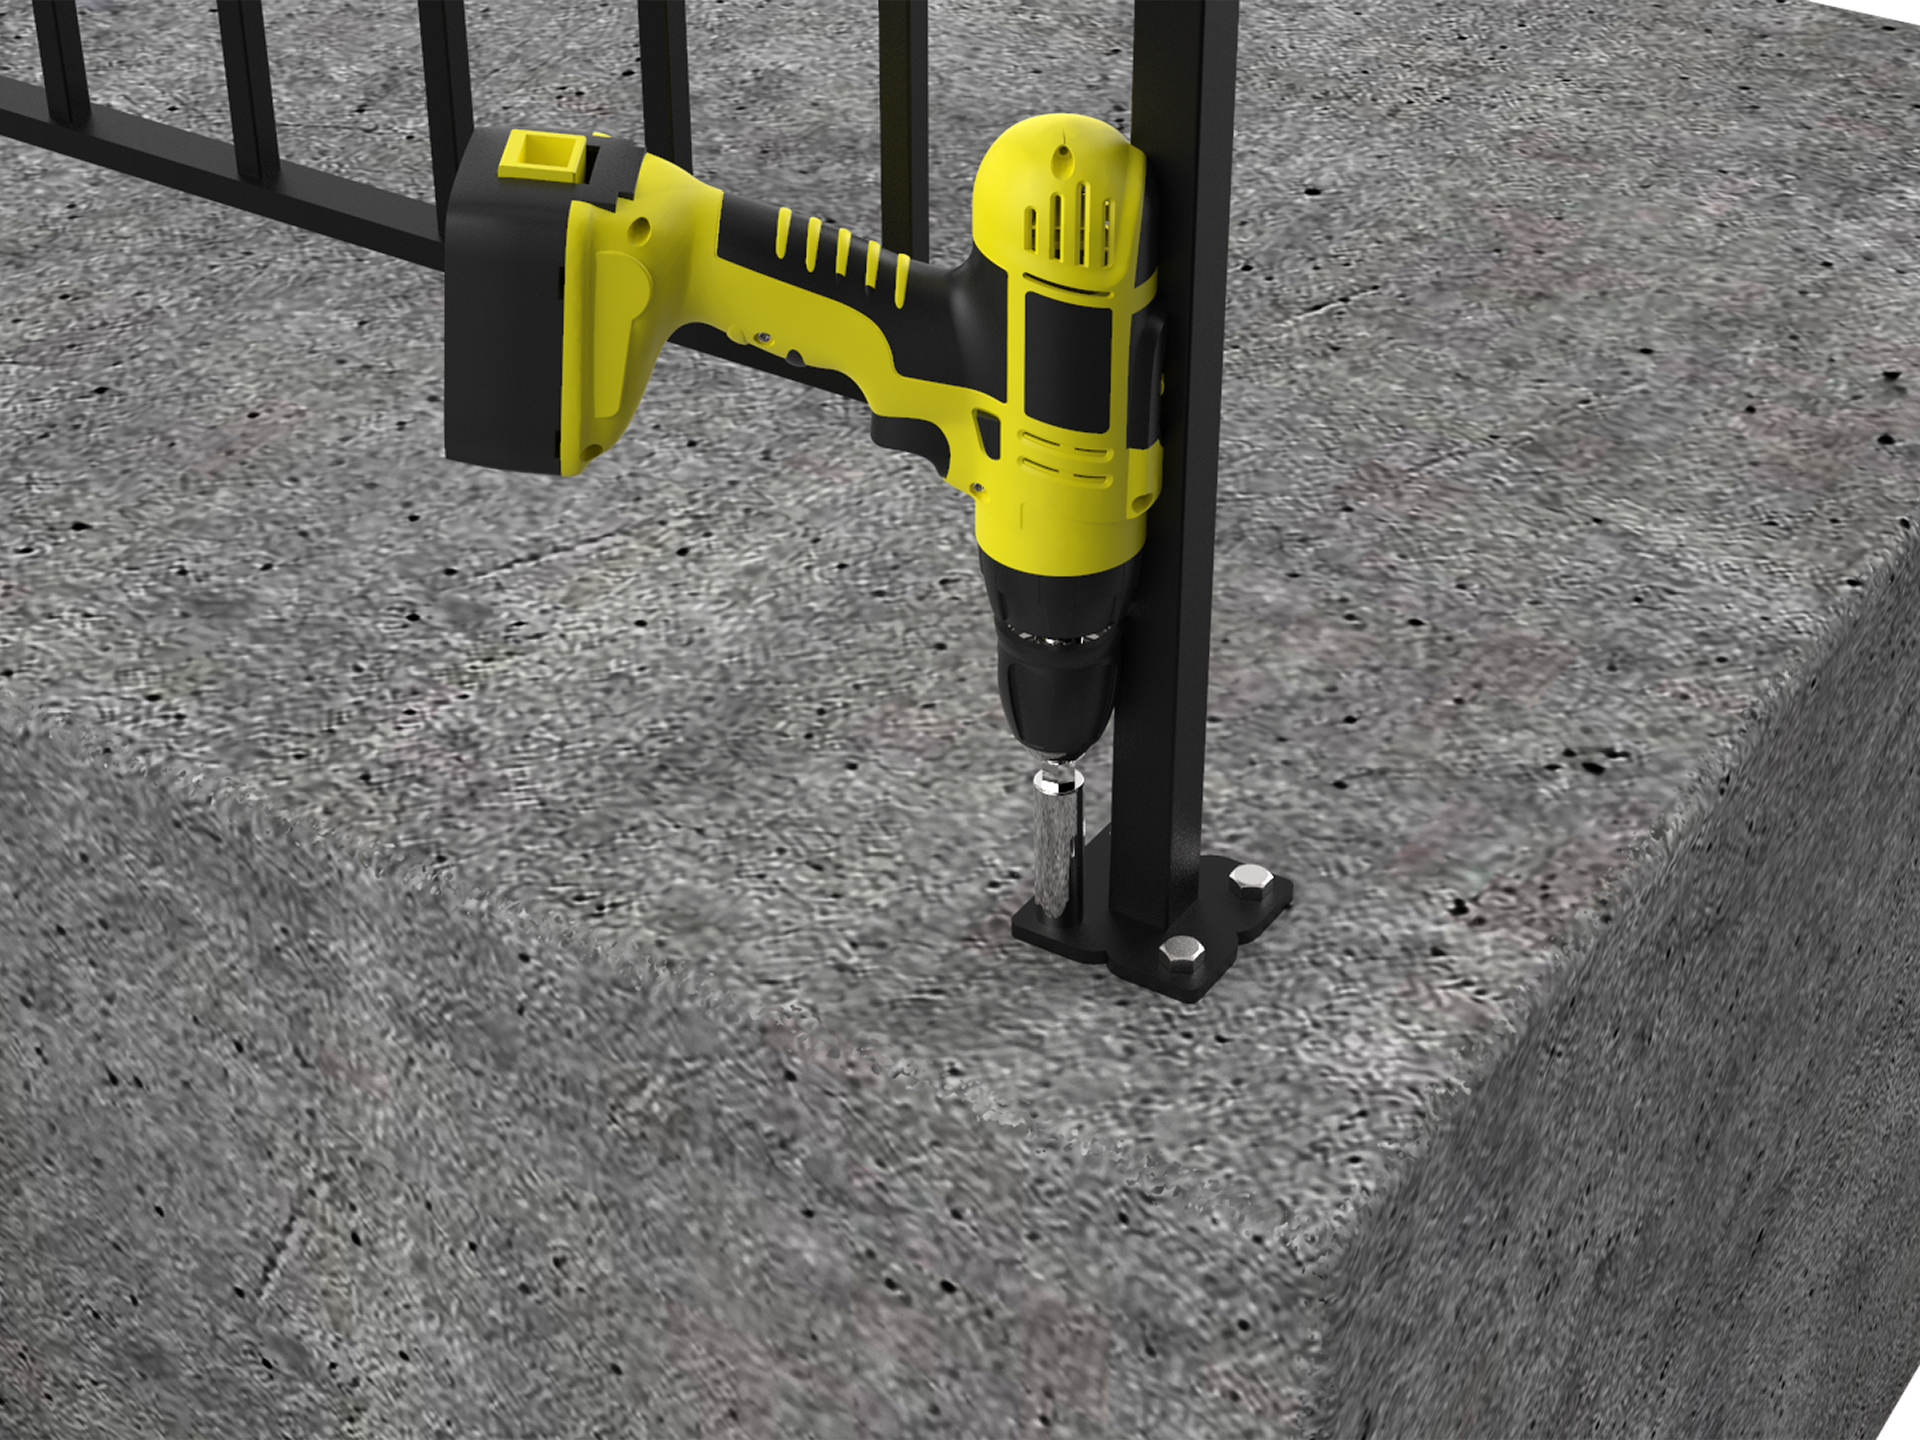
Make sure the posts are sitting a minimum of 2” from each side of the steps. Using a drill fitted with the included drill bit, drill through one of the holes on the post mount. Ensure you are drilling deep enough to accommodate the length of your fastener. For concrete, drill 3” deep, and for brick drill 6” deep.
Select fasteners, appropriate for your stair material. Secure the fastener into the hole that you have just drilled. Be sure to drill one hole and secure one fastener at a time. If the post is no longer level after fastening, place the included washers under the post mounts until a level reads plumb.
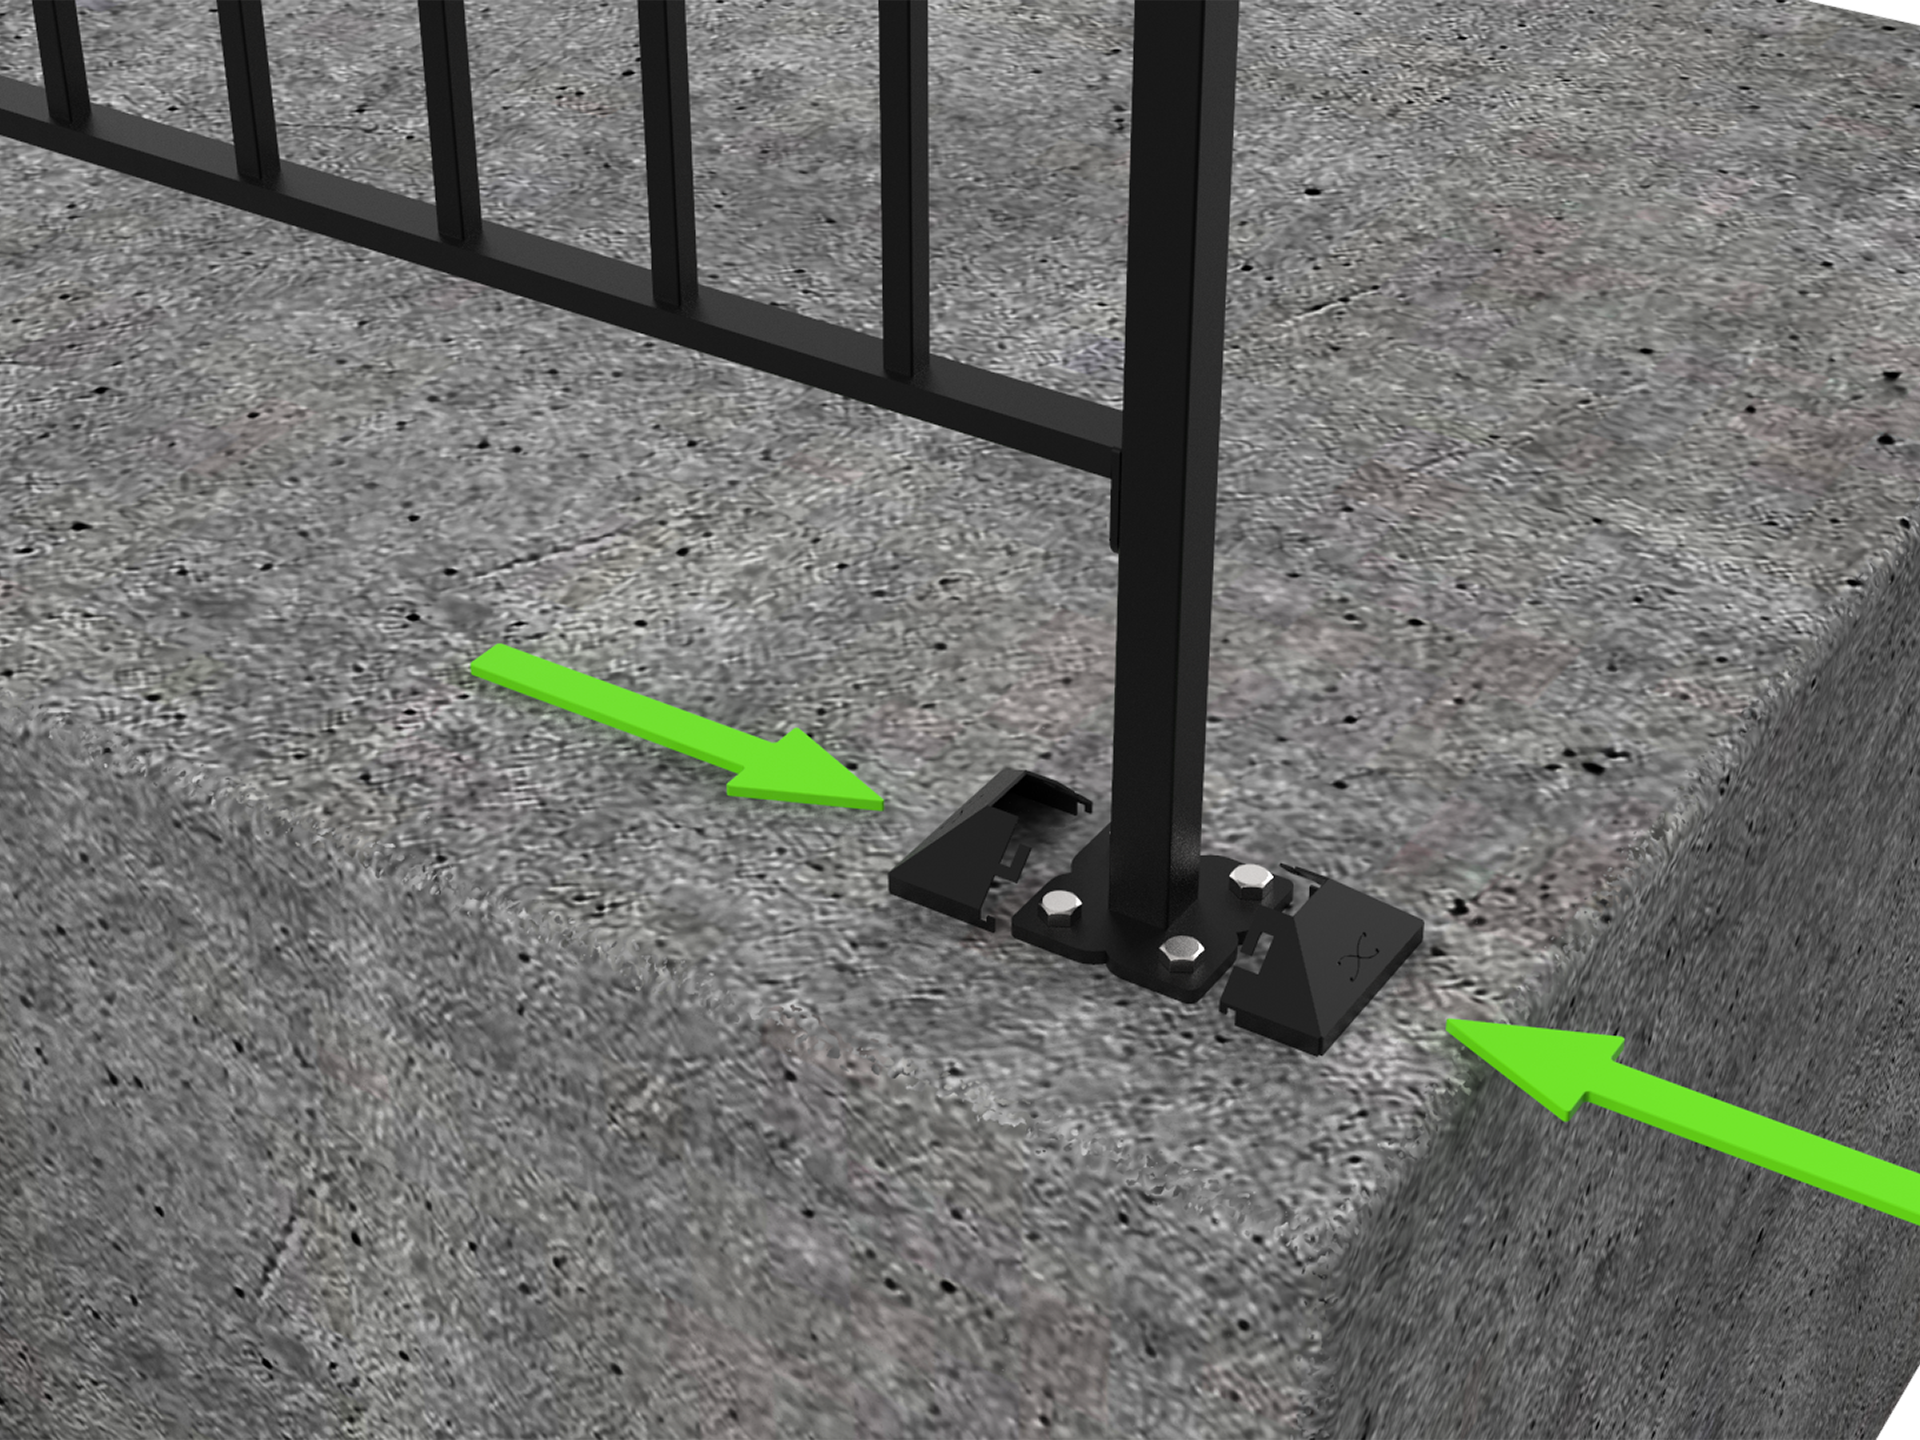
Install the stainless steel escutcheons over the post mount bracket plates
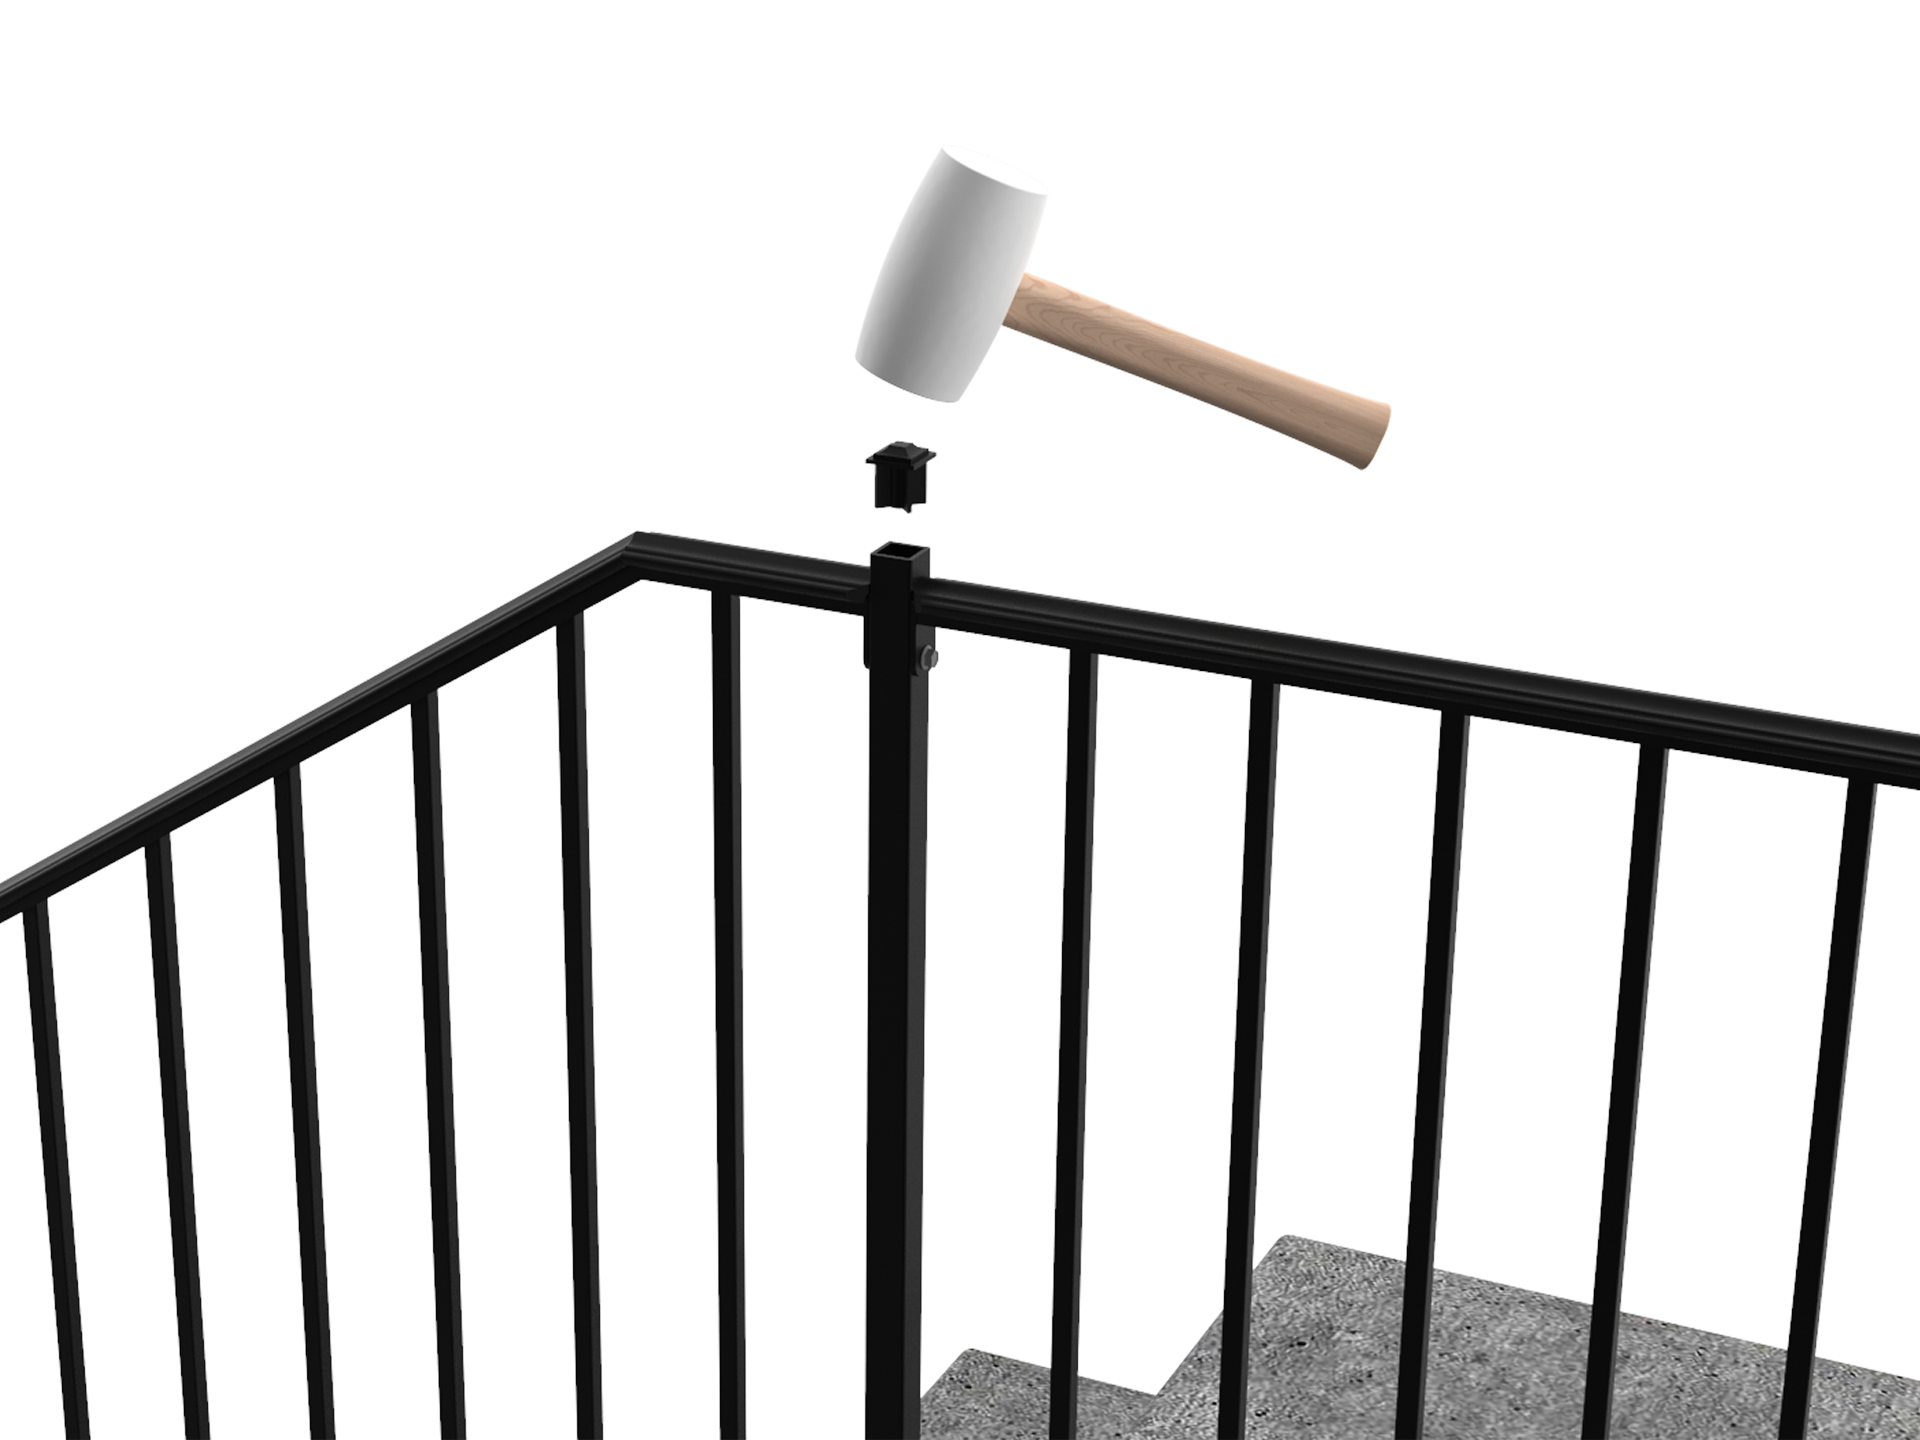
Install the newel post cap into the upper post top by gently tapping it in with a rubber mallet.

